Embed Dashboards Using Iframes
To embed a dashboard into your web application, copy the following iframe snippet into your web app and subtitute your own values for <host_url>, <workspace_id> and <dashboard_id>:
<iframe
    title="My Embedded GoodData Dashboard"
    id="embedded-app-frame"
    src="<host_url>/dashboards/embedded/#/workspace/<workspace_id>/dashboard/<dashboard_id>"
    height="500px"
    width="100%"
    frameborder="0"
></iframe>
Height and Width Limitations
Iframe height: Ensure the iframe height is no larger than the browser window height to prevent modal dialogs from stretching incorrectly.
Iframe width: If you allocate less than 1170 px of horizontal space for the embedded component, certain control elements, such as the Edit button, will be hidden.
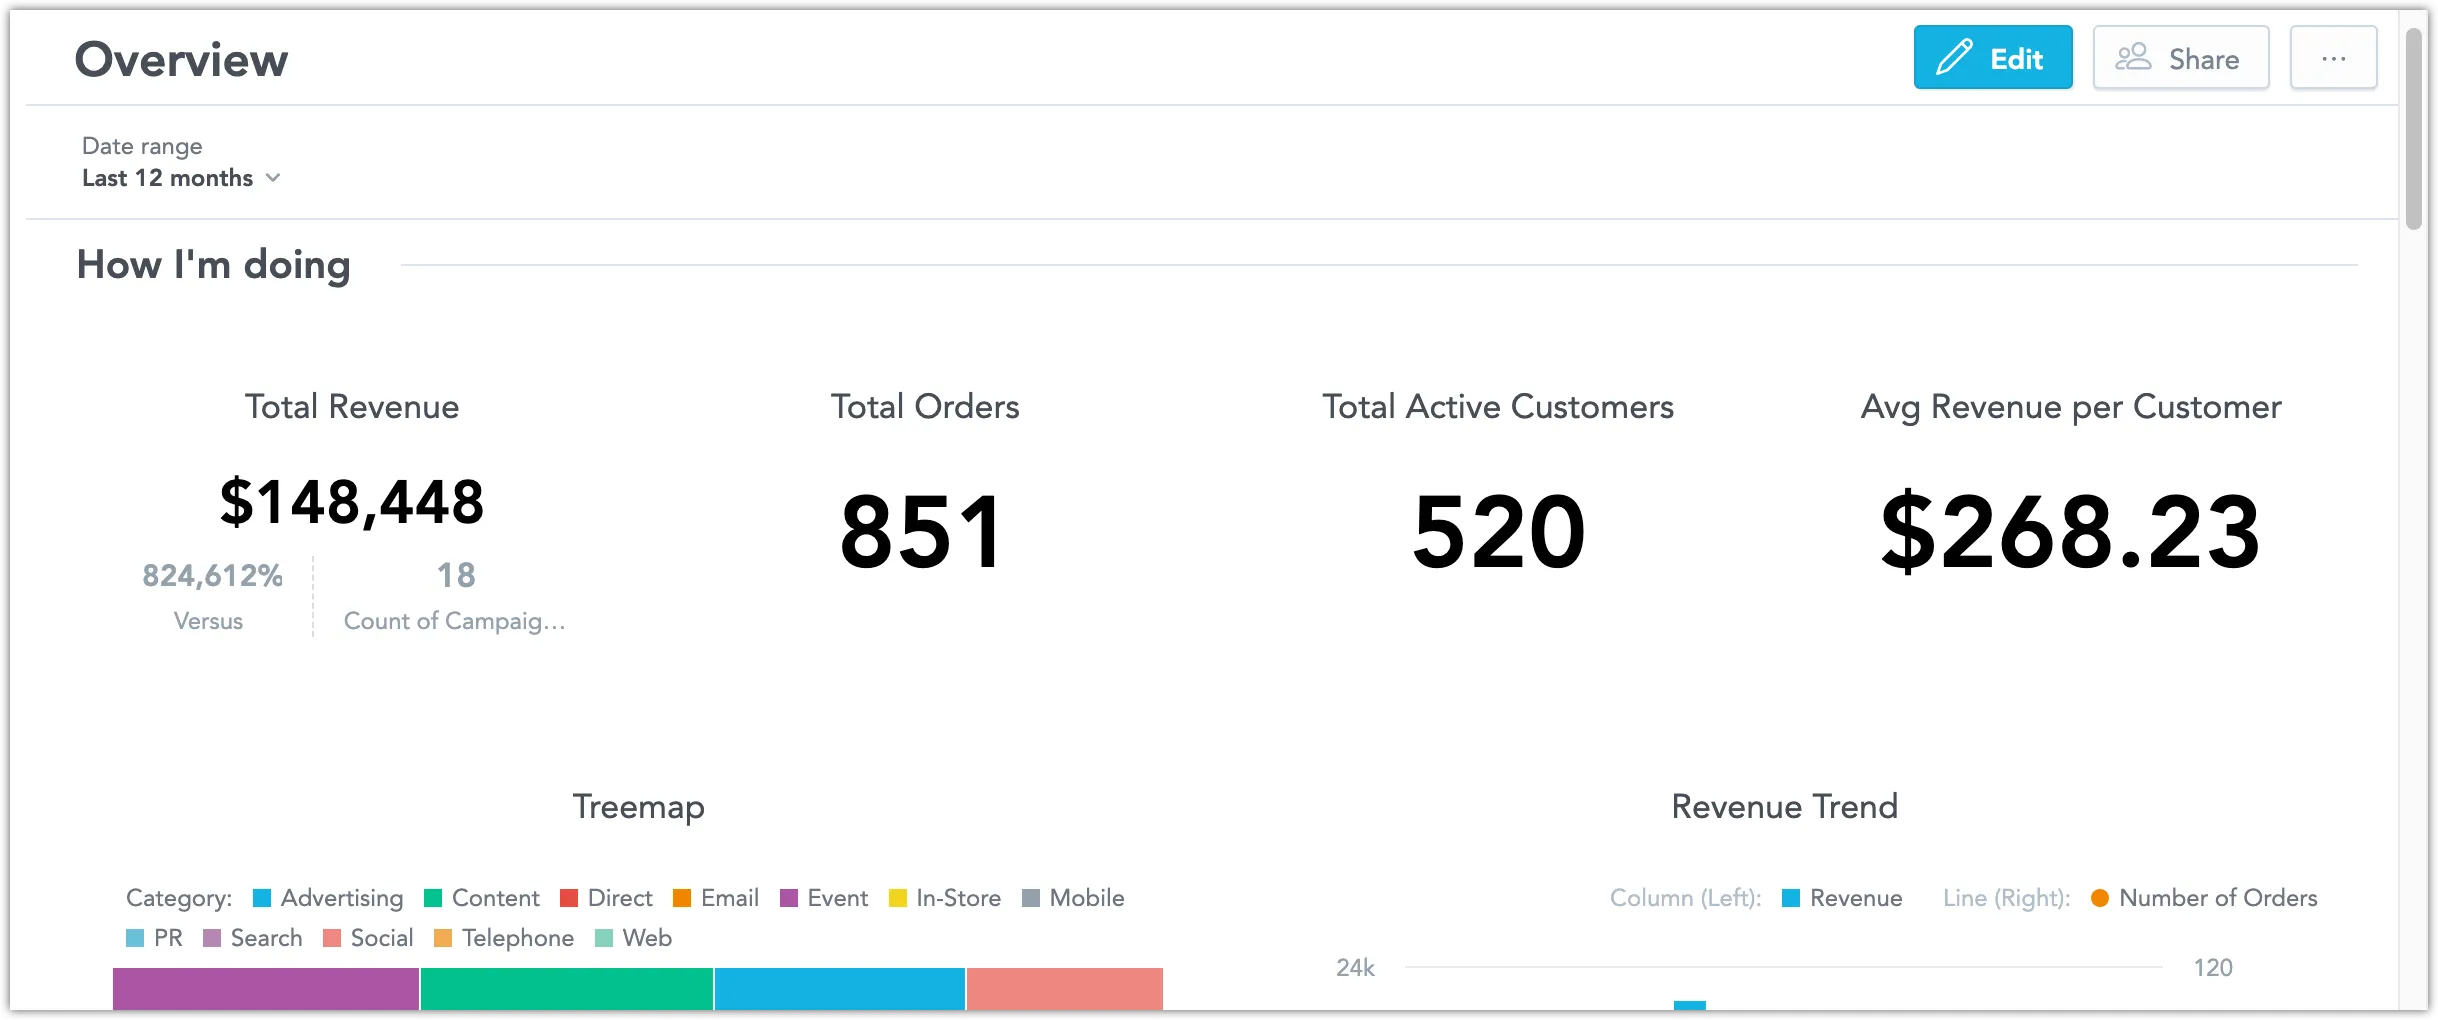
You may be prompted to authenticate yourself. Once authenticated, you should be able to see your embded dashboard:
To hide or display different parts of the dashboard, see Configuration Options.
To use alternative ways of authentication, see Authentication.
To monitor and control the behaviour of the dashboard using JavaScript, see PostMessages.
Access restricted by organization setting
If your organization has enabled the RESTRICT_BASE_UI setting and a user does not have the BASE_UI_ACCESS permission, native iFrame embedding is blocked. Organization administrators always retain access. See Restrict Access to Native UI.
Configuration Options
You can configure your embedded dashboard by adding one or more of the following URL parameters:
| URL Parameter | Description |
|---|---|
?hideControl=[controlElement1,controlElement2] | Hide one one or more of the following control elements: filterBar, topBar, widgetsCatalogue, deleteButton, saveAsButton, shareButton |
?showNavigation=false | Hide the navigation panel that lists dashboards |
?showEmbedButton=false | Hide the Embed button |
?includeObjectsWithTags=[tag1,tag2] | Display only fields in the dashboard’s data catalog that contain at least one of the specified tags. This parameter only affects the data catalog (list of available attributes, facts, and metrics) and does not impact other UI elements. If an object has multiple tags, it will be included with all its tags as long as it matches at least one tag from this parameter. |
?excludeObjectsWithTags=[tag1,tag2] | Hide fields from the dashboard’s data catalog that contain any of the specified tags. This parameter only affects the data catalog (list of available attributes, facts, and metrics) and does not impact other UI elements. Fields with excluded tags are completely hidden from the catalog. |
?hidefilters=filterId1,filterId2 | Hide specific attribute filters; Get a dashboard to find the filter context id, then use the context id to get the filter context to find the attributeFilter.displayForm.identifier.id of the filter |
?redirect-drill-url-to-message=all | Create a postMessage with drilling parameters instead of opening the URL in a new window when drilling to a URL from a visualization* |
?recipient=alex.doe@email.com | Prefill automation dialogs (create alert, schedule export) with a valid email address. The list of automations is also filtered by the provided recipient - only automations that deliver to the chosen email address are shown. |
For example, to embed a dashboard without the navigation panel and the Embed button, you would use the following URL:
<host_url>/dashboards/embedded/#/workspace/<workspace_id>/dashboard/<dashboard_id>?showNavigation=false&showEmbedButton=false* To intercept the postMessage generated by adding the URL parameter ?redirect-drill-url-to-message=all, use the following JavaScript function:
window.addEventListener("message", function(e){
        console.log('Drill: Received post message', e);
    }, false);
When user attempts to drill to URL, they will receive 2 messages in the console log, drillToUrlStarted and drillToUrlResolved. The resolvedFilterValues part of the message contains information on the attribute filters, date filters.
Tag-Based Filtering Examples
The includeObjectsWithTags and excludeObjectsWithTags parameters provide fine-grained control over which data catalog items are visible when editing dashboard widgets. Here are some practical examples:
Include specific tags only:
<host_url>/dashboards/embedded/#/workspace/<workspace_id>/dashboard/<dashboard_id>?includeObjectsWithTags=[sales,marketing]This shows only attributes, facts, and metrics tagged with “sales” OR “marketing” in the data catalog.
Exclude specific tags:
<host_url>/dashboards/embedded/#/workspace/<workspace_id>/dashboard/<dashboard_id>?excludeObjectsWithTags=[internal,test]This hides all attributes, facts, and metrics tagged with “internal” OR “test” from the data catalog.
Combine with other parameters:
<host_url>/dashboards/embedded/#/workspace/<workspace_id>/dashboard/<dashboard_id>?hideControl=[topBar]&includeObjectsWithTags=[public]&excludeObjectsWithTags=[deprecated]This hides the top bar and shows only items tagged with “public”. Note: When both tag parameters are present, only includeObjectsWithTags is applied (the exclude parameter would be ignored).
Tag Filtering Behavior
- Object types affected: Tag filtering applies to Facts, Metrics, Attributes, and date Datasets in the catalog.
- Multiple tags on objects: If a field has multiple tags (e.g., “sales” and “public”), it will be included as long as it matches at least one tag in the
includeObjectsWithTagsparameter. - Parameter precedence: If both
includeObjectsWithTagsandexcludeObjectsWithTagsare present, onlyincludeObjectsWithTagsis used (it is more restrictive). - Used objects: If a measure or attribute is already used in a KPI on the dashboard, its label will be displayed in the measure dropdown cover, but it won’t appear in the dropdown options if filtered out by tags.
- Tag name restrictions: Tag names can only contain letters and numbers (a-zA-Z0-9). Special characters are not allowed.
- Catalog scope only: These parameters only affect the data catalog when editing dashboard widgets. They do not hide dashboard widgets themselves, UI controls, menus, or other interface elements.
Authentication
If you are using an OpenID Connect (OIDC) identity provider for authentication, the authentication process should be automatic. However, if you want to use API tokens for authentication, you will need to handle this type of authentication manually.
Use API Token
Security Risk
Using API token authentication in a production environment can lead to some security issues, such as unintentionally exposing your token to someone else. We strongly recommend to use context deferred authentication for UI applications.
To set up authentication using API token for an embedded dashboard:
Embed the dashboard using the iframe.
Add URL parameter
?apiTokenAuthentication=true.Implement a message listener in the embedding page to listen to events sent by the dashboards. The listener must wait for a
listeningForApiTokenevent.When the event is received, the dashboard is ready to receive the API token.
Send a
postMessagecommand to the iframe with the API token value.The dashboard will continue with initialization and use the token for authentication of all API calls from now on.
See the Example below for implementation details.
Browser Same-origin Policy
For maximum compatibility, GoodData and your application should be the same hostname and port, otherwise you may need to enable CORS to get around the same-origin browser restrictions.
Example of Authentication Using Injected API Token
You may reuse the following code snippet, do not forget to replace <host_url>, <workspace_id>, <dashboard_id>, and <api_token_value> with your own values:
<iframe
    title="Embed GD Application"
    id="embedded-app-frame"
    src="<host_url>/dashboards/embedded/#/workspace/<workspace_id>/dashboard/<dashboard_id>?apiTokenAuthentication=true"
    width="1300"
    height="800"
></iframe>
<script>
    console.log("Setup parent frame message listener")

    window.addEventListener(
        "message",
        function (event) {
            console.log("Post message received", event);

            if (event.data.gdc?.event.name === "listeningForApiToken") {
                const postMessageStructure = {
                    gdc: {
                        product: "dashboard",
                        event: {
                            name: "setApiToken",
                            data: {
                                token: "<api_token_value>"
                            }
                        }
                    }
                };
                console.log("Sending token to embedded window");

                const origin = "*";
                const iframe = document.getElementById("embedded-app-frame").contentWindow;
                iframe.postMessage(postMessageStructure, origin);
            }
        },
        false
    );
</script>
Use JSON Web Token
If you are using JSON Web Token (JWT) instead of an API token for authentication edit your event data payload in the following way:
event: {
    name: "setApiToken",
    data: {
        token: "<jwt_token_value>",
        type: "jwt",
        secondsBeforeTokenExpirationToEmitReminder: 60
    }
}
When the token is 60 seconds from expiring, the apiTokenIsAboutToExpire event is emitted to notify you and give you a chance to post a fresh token. Note that 60 seconds is the default value, but you can change it.
JWT Expiration Grace Period
There is an additional 60 second grace period after the JWT expires when GoodData backend will still accept the JWT as valid. This is to avoid various issues related to potential desync between GoodData backend and the service that manages the JWTs.
We recommend you check out the Create JWK and JWT in JavaScript to get started on handling JWTs inside JavaScript.
Example of Authentication Using Injected JWT
This is a modified example of the API token injection example shown above that has been modified to better suit the JWT use case:
<iframe
        title="Embed GD Application"
        id="embedded-app-frame"
        src="<host_url>/dashboards/embedded/#/workspace/<workspace_id>/dashboard/<dashboard_id>?apiTokenAuthentication=true"
        width="1300"
        height="800"
></iframe>
<script>
    console.log("Setup parent frame message listener")

    window.addEventListener(
        "message",
        function (event) {
            console.log("Post message received", event);

            const eventName = event.data.gdc?.event.name;

            // Send new token when embedded application ask for it for the first time and then subsequently
            // each 60 seconds before the previous token expires.
            if (eventName === "listeningForApiToken" || eventName === "apiTokenIsAboutToExpire") {
                // Fetch token from JWT generator endpoint, for example Node.JS Express application.
                // The application must ensure that the call is authenticated, for example via request cookie
                // or through SSO
                fetch(`/api/jwt-generator?user=john.doe`, {
                    method: "GET"
                }).then(function (response) {
                    if (response.ok) {
                        return response.json();
                    }
                    throw response;
                }).then(function (data) {
                    const postMessageStructure = {
                        gdc: {
                            product: "dashboard",
                            event: {
                                name: "setApiToken",
                                data: {
                                    token: data.jwt, // example expects the response is {"jwt": "<jwt_value>"}
                                    type: "jwt",
                                    secondsBeforeTokenExpirationToEmitReminder: 60,
                                }
                            }
                        }
                    };

                    console.log("Sending JWT to embedded window");

                    const origin = "*";
                    const iframe = document.getElementById("embedded-app-frame").contentWindow;
                    iframe.postMessage(postMessageStructure, origin);
                });
            }
        },
        false
    );
</script>
Use Federated Identity Management
To enable Federated Identity Management (FIM) authentication, add the ?externalProviderId=<providerID> parameter to the iframe URL. The providerID must match the one used for your organization’s authentication (Cognito).
Ensure the providerID is included from the start when rendering the iframe for the first time. Until then, keep the iframe hidden.
PostMessages
Dashboards embeded in your application using iframes communicate with the GoodData backend using postMessages. You can intercept these postMessages, or send your own, to control the behaviour of the dashboard.
Supported postMessages can be broken down into two categories:
Events are outgoing messages that the embedded dashboards send to your application to notify you about the status of commands (for example, success or failure). Events are sent automatically.
Commands are incoming messages sent from your application to the embedded Dashboard to apply actions.
The Use of ContextID in postMessages
ContextId is used to correlate events and commands. It identifies the input and output of the communication.
PostMessage Payloads Are Not API-compatible
When you use postMessage with embedded dashboard in GoodData Cloud, objects received from event payloads only. They are not API-compatible object definitions and must not be used as request payloads for GoodData Cloud APIs.
Attribute Filters and PostMessages
We improved attribute filters on October 31, 2024. To take advantage of these improvements, you need to include the following parameters in your postMessages:
- Define a primary label (a unique identifier like User ID) and include its values.
- Define a secondary label using the
displayAsLabelparameter, which will be shown in the user interface (GUI).
This helps you tell apart objects that have a unique primary label (like User ID) but share the same secondary label (like User Name).
Labels in postMessages
If your postMessage only includes the secondary label and its values, the filter won’t be able to tell the difference between objects with the same secondary label. For example, it will show all users with the same User Name (but different User IDs) as a single object.
Example postMessage Command:
{
    "gdc": {
        "product": "dashboard",
        "event": {
            "name": "setFilterContext",
            "data": {
                "filters": [
                    {
                        "positiveAttributeFilter": {
                            "displayForm": {
                                "identifier": "user_id"
                            },
                            "in": [
                                "10010"
                            ],
                            "textFilter": true,
                            "selectionMode": "multi"
                        },
                        "displayAsLabel": {
                            "identifier": "user_id.username"
                        }
                    }
                ]
            }
        }
    }
}
Event Sent When a Filter is Changed:
{
    "name": "filterContextChanged",
    "data": {
        "availableCommands": [
            "setFilterContext",
            "switchToEdit",
            "drillableItems",
            "setSize",
            "openScheduleEmailDialog",
            "setFilterParents"
        ],
        "filters": [
            {
                "positiveAttributeFilter": {
                    "displayForm": {
                        "identifier": "f_city.id",
                        "type": "displayForm"
                    },
                    "in": [
                        "1840000417"
                    ],
                    "textFilter": false,
                    "selectionMode": "multi"
                },
                "displayAsLabel": {
                    "identifier": "f_city.id.cityname",
                    "type": "displayForm"
                }
            }
        ]
    }
}
Events
The following events are supported:
- loadingStarted
- loaded
- noPermissions
- resized
- dashboardCreated
- dashboardCreationCanceled
- dashboardUpdated
- dashboardDeleted
- setFilterContextFinished
- filterContextChanged
- drillableItems
- drillToUrlStarted
- drillToUrlResolved
loadingStarted
The embedded content starts loading.
{
	"gdc": {
		"product": "dashboard",
		"event": {
			"name": "loadingStarted",
			"data": {
				"dashboard": "dashboard_identifier",
				"dashboardId": "dashboard_id"
			},
			"contextId": "<context_id>"
		}
	}
}
loaded
The content is fully loaded, and the user has permissions to access the dashboard.
{
	"gdc": {
		"product": "dashboard",
		"event": {
			"name": "loaded",
			"data": {
				"dashboard": "dashboard_identifier",
				"dashboardId": "dashboard_id"
			},
			"contextId": "<context_id>"
		}
	}
}
noPermissions
The user does not have permissions to view or edit the content. The ‘data’ section contains information about whether view or edit permissions are missing.
Possible reason values: viewDenied and editDenied.
{
    "gdc": {
        "product": "dashboard",
        "event": {
            "name": "noPermissions",
            "data": {
                "reason": "viewDenied"
            },
            "contextId": "<context_id>"
        }
    }
}
resized
An operation increasing the height of the hosting iframe is performed. The ‘data’ section contains information what height the iframe needs (in pixels).
{
    "gdc": {
        "product": "dashboard",
        "event": {
            "name": "resized",
            "data": {
                "height": 600
            },
            "contextId": "<context_id>"
        }
    }
}
dashboardCreated
A dashboard has been created and saved. The ‘data’ section contains, among other information, the dashboard ID. You can store it on your side and use later for managing multiple dashboards for this particular user.
{
	"gdc": {
		"product": "dashboard",
		"event": {
			"name": "dashboardCreated",
			"data": {
				"project": "project_id",
				"dashboard": "dashboard_identifier",
				"dashboardId": "dashboard_id"
			},
			"contextId": "<context_id>"
		}
	}
}
Note that in GoodData, terms workspace and project denote the same entity. For example, project ID is exactly the same as workspace ID.
dashboardCreationCanceled
The user cancels the creation of the dashboard.
{
    "gdc": {
        "product": "dashboard",
        "event": {
            "name": "dashboardCreationCanceled",
            "contextId": "<context_id>"
        }
    }
}
dashboardUpdated
The existing dashboard has been updated. The ‘data’ section contains, among other information, the dashboard ID. You can store it on your side and use later for managing multiple dashboards for this particular user.
{
    "gdc": {
        "product": "dashboard",
        "event": {
            "name": "dashboardUpdated",
            "data": {
                "project": "project_id",
                "client": "client_id",
                "dashboard": "dashboard_identifier",
                "dashboardId": "dashboard_id"
            },
            "contextId": "<context_id>"
        }
    }
}
Note that in GoodData, terms workspace and project denote the same entity. For example, project ID is exactly the same as workspace ID.
dashboardDeleted
The dashboard has been deleted. The ‘data’ section contains information about the deleted dashboard.
{
    "gdc": {
        "product": "dashboard",
        "event": {
            "name": "dashboardDeleted",
            "data": {
                "project": "project_id",
                "dashboard": "dashboard_identifier",
                "dashboardId": "dashboard_id"
            },
            "contextId": "<context_id>"
        }
    }
}
Note that in GoodData, terms workspace and project denote the same entity. For example, project ID is exactly the same as workspace ID.
setFilterContextFinished
A confirmation that the filters that you sent have been applied.
{
    "gdc": {
        "product": "dashboard",
        "event": {
            "name": "setFilterContextFinished",
            "contextId": "<context_id>"
        }
    }
}
filterContextChanged
A set of filters has been changed. Includes the new definitions of all filters that have been changed.
{
    "gdc": {
        "product": "dashboard",
        "event": {
            "name": "filterContextChanged",
            "data": {
                "filters": [
                    {
                        "relativeDateFilter": {
                            "granularity": "GDC.time.date",
                            "from": -6,
                            "to": 0
                        }
                    }
                ]
            },
            "contextId": "<context_id>"
        }
    }
}
drillableItems
Lists the identifiers of metrics and attributes that can be drilled into.
{
    "gdc": {
        "product": "dashboard",
        "event": {
            "name": "drillableItems",
            "data": {
                "identifiers": ["identifier123"]
            },
            "contextId": "<context_id>"
        }
    }
}
drillToUrlStarted
Drilling to a URL address starts. The message contains the ID of the window.
You must enable the redirect-drill-url-to-message=all in the embedded mode URL. If not enabled, no postMessages are sent and drilling is managed by the application.
{
    "gdc": {
        "product": "dashboard",
        "event": {
            "name": "drillToUrlStarted",
            "data": {
                "id": "windowId123"
            },
            "contextId": "<context_id>"
        }
    }
}
drillToUrlResolved
Contains the window ID and the target URL that opens in the specified tab/window.
You must enable the redirect-drill-url-to-message=all in the embedded mode URL. If not enabled, no postMessages are sent and drilling is managed by the application.
The filters section includes all dashboard filters applied to the insight that you drill from. It also includes information if the filter values are included or excluded from the filter.
The resolvedFilterValues section includes all actual values of dashboard filters applied to the insight that you drill from:
- The attribute filters: text values of the filter elements.
- The date filters: values
fromandtoin theMM/dd/yyyyformat
{
    "gdc": {
        "product": "dashboard",
        "event": {
            "name": "drillToUrlResolved",
            "data": {
                "id": "48769ef3-ef36-4532-baa7-b46294386117",
                "url": "https://www.company.com/my_products",
                "filters": [
                    {
                        "attributeFilter": {
                            "displayForm":"label.f_owner.salesrep.ownername",
                            "negativeSelection": false,
                            "attributeElements":["Cory Owens","Dale Perdadtin","Dave Bostadt"]
                        }
                    },
                    {
                        "dateFilter": {
                            "localIdentifier": "0_dateFilter",
                            "type": "relative",
                            "granularity": "GDC.time.year",
                            "from": -7,
                            "to": -1
                        }
                    }
                ],
                "resolvedFilterValues": {
                    "dateFilters": [
                        {
                            "from": "01/01/2014",
                            "to": "12/31/2020"
                        }
                    ],
                    "attributeFilters": {
                        "/gdc/md/auiwj6pa2cs3twpjr98gtjfb34x3i0gv/obj/1252": {
                            "/gdc/md/auiwj6pa2cs3twpjr98gtjfb34x3i0gv/obj/1251/elements?id=169661": "In Person Meeting"
                        }
                    }
                }
            },
            "contextId": "<context_id>"
        }
    }
}
Commands
The following commands are supported:
setApiToken
Set the API token you want to use for authentication. See the example above.
{
    "gdc": {
        "product": "dashboard",
        "event": {
            "name": "setApiToken",
            "contextId": "<context_id>",
            "data": {
                "token": "<api_token_value>"
            }
        }
    }
}
switchToEdit
Opens the dashboard for editing (in view mode only).
{
    "gdc": {
        "product": "dashboard",
        "event": {
            "name": "switchToEdit",
            "contextId": "<context_id>"
        }
    }
}
cancelEdit
Closes the dashboard (in edit mode only).
{
    "gdc": {
        "product": "dashboard",
        "event": {
            "name": "cancelEdit",
            "contextId": "<context_id>"
        }
    }
}
addWidget
Adds an item to the dashboard (in edit mode only).
Example: Add visualization
{
    "gdc": {
        "product": "dashboard",
        "event": {
            "name": "addWidget",
            "data": {
                "widget": {
                    "type": "insight",
                    "ref": {
                        "identifier": "c67470a1-a9dd-4a1e-980a-f51d947a195a"
                    }
                }
            },
            "contextId": "<context_id>"
        }
    }
}
addFilter
Add a filter to the dashboard (in edit mode only).
{
    "gdc": {
        "product": "dashboard",
        "event": {
            "name": "addFilter",
            "contextId": "<context_id>"
        }
    }
}
setFilterContext
Applies a set of filters to the embedded dashboard. You can define, one or more filters in the filter definition.
When the received filter configuration is applied, the following happens:
- The filter configuration overrides any filters that the dashboard may already have, such as existing attribute and date filters, URL filters, previous filter configuration, and so on.
- The filter configuration is applied even if the dashboard does not yet have any filters at all.
- The filter configuration takes into account existing user permissions or variable filters: if they restrict some filters or filter values in the received configuration, those filters and values are not applied.
- All display forms (not only default) are supported in the filter configuration.
Limitation When Using Multiple Date Filters
You are currently not able to change filter contexts with postMessages if the dashboard contains multiple date filters. We intend to implement a fix for this in the future.
{
    "gdc": {
        "product": "dashboard",
        "event": {
            "name": "setFilterContext",
            "data": {
                "filters": [
                    {
                        "positiveAttributeFilter": {
                            "displayForm": {
                                "identifier": "identifier123"
                            },
                            "in": ["someValue"],
                            "textFilter": true
                        }
                    }
                ]
            },
            "contextId": "<context_id>"
        }
    }
}
Notes:
- To add a new filter, you must be in the Edit mode.
- You can add max. 30 filters
- If you receive an error, no filter from the postMessage is applied.
Example: Attribute filter - using an identifier
{
    "positiveAttributeFilter": {
        "displayForm": {
            "identifier": "identifier123"
        },
        "in": ["someValue"],
        "textFilter": true
    }
}
Example: Negative attribute filter
{
    "negativeAttributeFilter": {
        "displayForm": {
            "identifier": "identifier123"
        },
        "notIn": ["someValue"],
        "textFilter": true
    }
}
Example: Attribute filter with all values
{
    "negativeAttributeFilter": {
        "displayForm": {
            "identifier": "identifier123"
        },
        "notIn": []
    }
}
Example: Single selection filter
{
    "positiveAttributeFilter": {
        "displayForm": {
            "identifier": "identifier123"
        },
        "in": ["someValue"],
        "selectionMode": "single",
        "textFilter": true
    }
}
Example: Absolute date filter
{
    "absoluteDateFilter": {
        "dataSet": {
            "identifier": "identifier123"
        },
        "from": "2023-01-01",
        "to": "2023-12-31"
    }
}
Example: Relative date filter
You can use the following granularities: GDC.time.week_us, GDC.time.month, GDC.time.year, GDC.time.quarter, GDC.time.date.
{
    "relativeDateFilter": {
        "dataSet": {
            "identifier": "identifier 123"
        },
        "granularity": "GDC.time.date",
        "from": -6,
        "to": 0
    }
}
Example: All time date filter
{
    "relativeDateFilter": {
        "dataSet": {
            "identifier": "identifier123"
        },
        "granularity": "ALL_TIME_GRANULARITY",
        "from": 0,
        "to": 0
    }
}
Example: Ranking filter
Although the ranking filter is supported by the interface of setFilterContext , dashboards do not support this filter and it results in error.
removeFilterContext
Removes filters from the embedded dashboards (in edit mode only).
{
    "gdc": {
        "product": "dashboard",
        "event": {
            "name": "removeFilterContext",
            "data": {
                "filters": [
                    {
                        "displayForm": {
                            "identifier": "identifier123"
                        }
                    }
                ]
            },
            "contextId": "<context_id>"
        }
    }
}
where displayForm refers to the attribute filter.