Create Workspace
In GoodData, every project needs at least one workspace. A workspace is an environment where you create and store all of your analytics.
You can use features like workspace hierarchies and data filters for larger projects that need multiple workspaces. To start, check out Set Up Multiple Tenants.
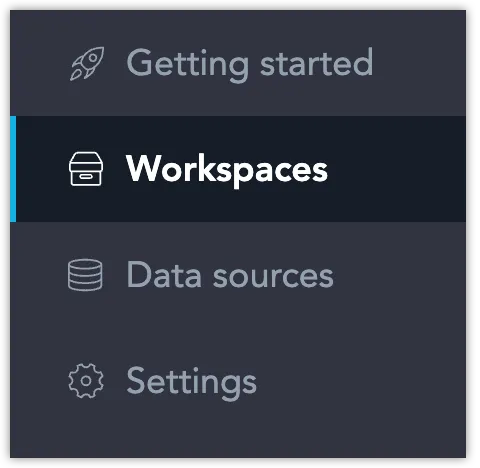
- On the home page, switch to Workspaces.
- Click the Create workspace button
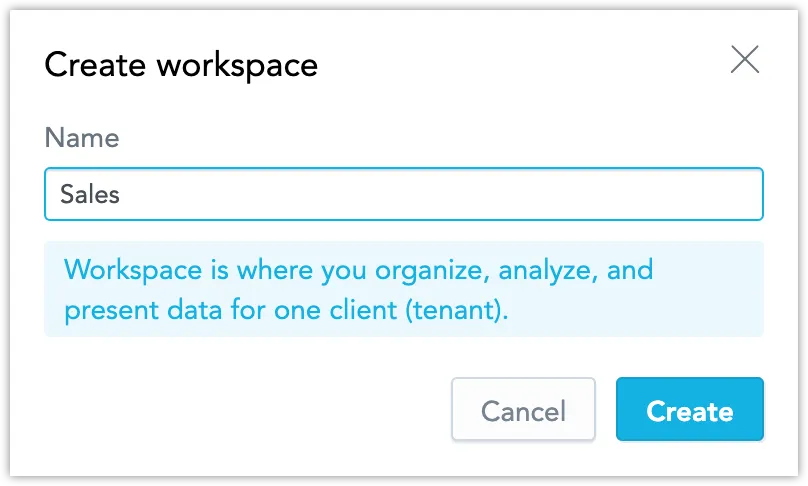
- Name your workspace and click Create.
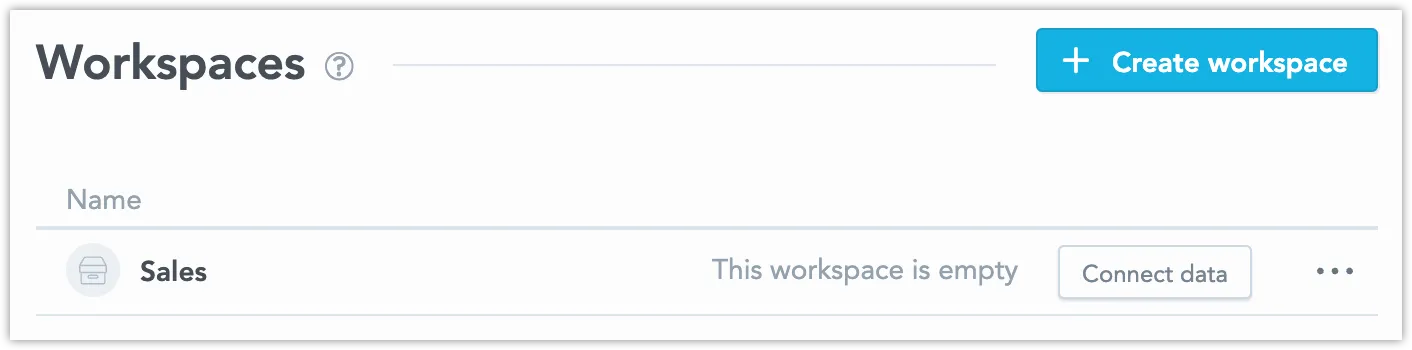
- Your workspace will now appear on the Workspaces page. Open it to connect to your data source, create a logical data model, and build analytics.
To create a workspace using Python, use this code:
from gooddata_sdk import GoodDataSdk, CatalogWorkspace

host = "<GOODDATA_URI>"
token = "<API_TOKEN>"
sdk = GoodDataSdk.create(host, token)

# Create a new workspace entity locally
my_workspace_object = CatalogWorkspace("some_workspace_id", name="Workspace Name")

# Create a workspace
sdk.catalog_workspace.create_or_update(my_workspace_object)
To confirm the workspace was created, list all workspaces:
from gooddata_sdk import GoodDataSdk, CatalogWorkspace

host = "<GOODDATA_URI>"
token = "<API_TOKEN>"
sdk = GoodDataSdk.create(host, token)

# List workspaces
workspaces = sdk.catalog_workspace.list_workspaces()

print(workspaces)

# [
#   CatalogWorkspace(id=some_workspace_id, name='Workspace Name'),
# ]
To create a workspace named Workspace Name with the ID some_workspace_id, send a POST request to /api/v1/entities/workspaces:
curl $HOST_URL/api/v1/entities/workspaces \
  -H "Content-Type: application/vnd.gooddata.api+json" \
  -H "Accept: application/vnd.gooddata.api+json" \
  -H "Authorization: Bearer <API_TOKEN>" \
  -X POST \
  -d '{
      "data": {
          "attributes": {
              "description": "My first workspace created using the API.",
              "name": "Workspace Name"
          },
          "id": "some_workspace_id",
          "type": "workspace"
      }
  }' | jq .
After the workspace is created, the server will return this response:
{
  "data": {
    "id": "some_workspace_id",
    "type": "workspace",
    "attributes": {
      "description": "My first workspace created using the API.",
      "name": "Workspace Name"
    }
  },
  "links": {
    "self": "$HOST_URL/api/v1/entities/workspaces/some_workspace_id"
  }
}
Workspace Settings
You can use the web interface to set up your workspaces. Go to the Workspaces tab and open the workspace you want to edit. From there, you can:
Create Child Workspaces
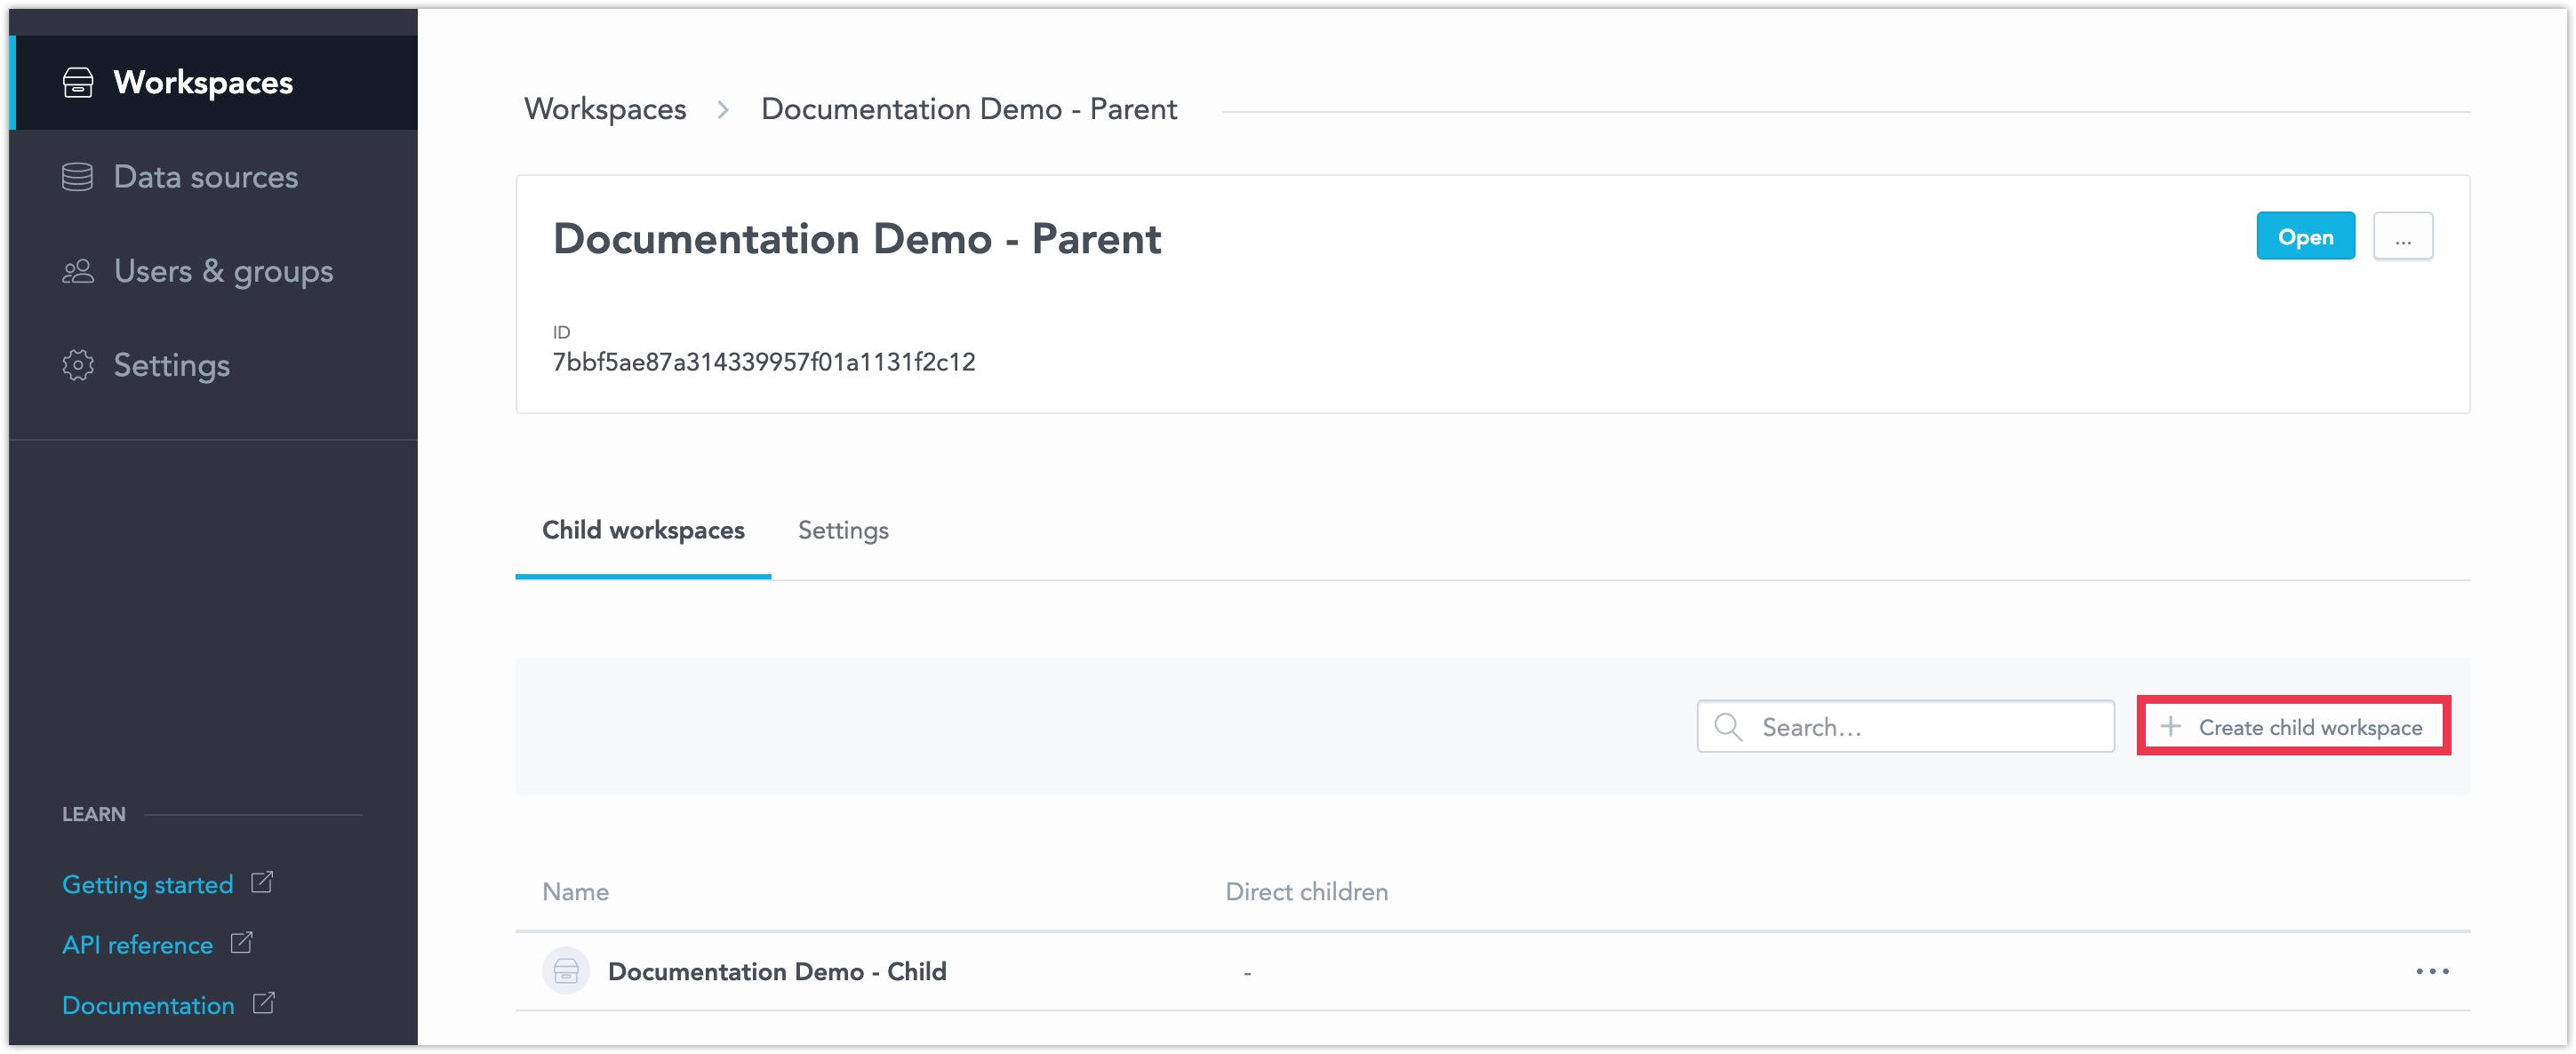
Change the Settings of the current workspace
The web interface lets you do basic tasks, but for advanced actions like cloning, creating backups, or managing content, you’ll need to use the Workspace API or Python SDK.
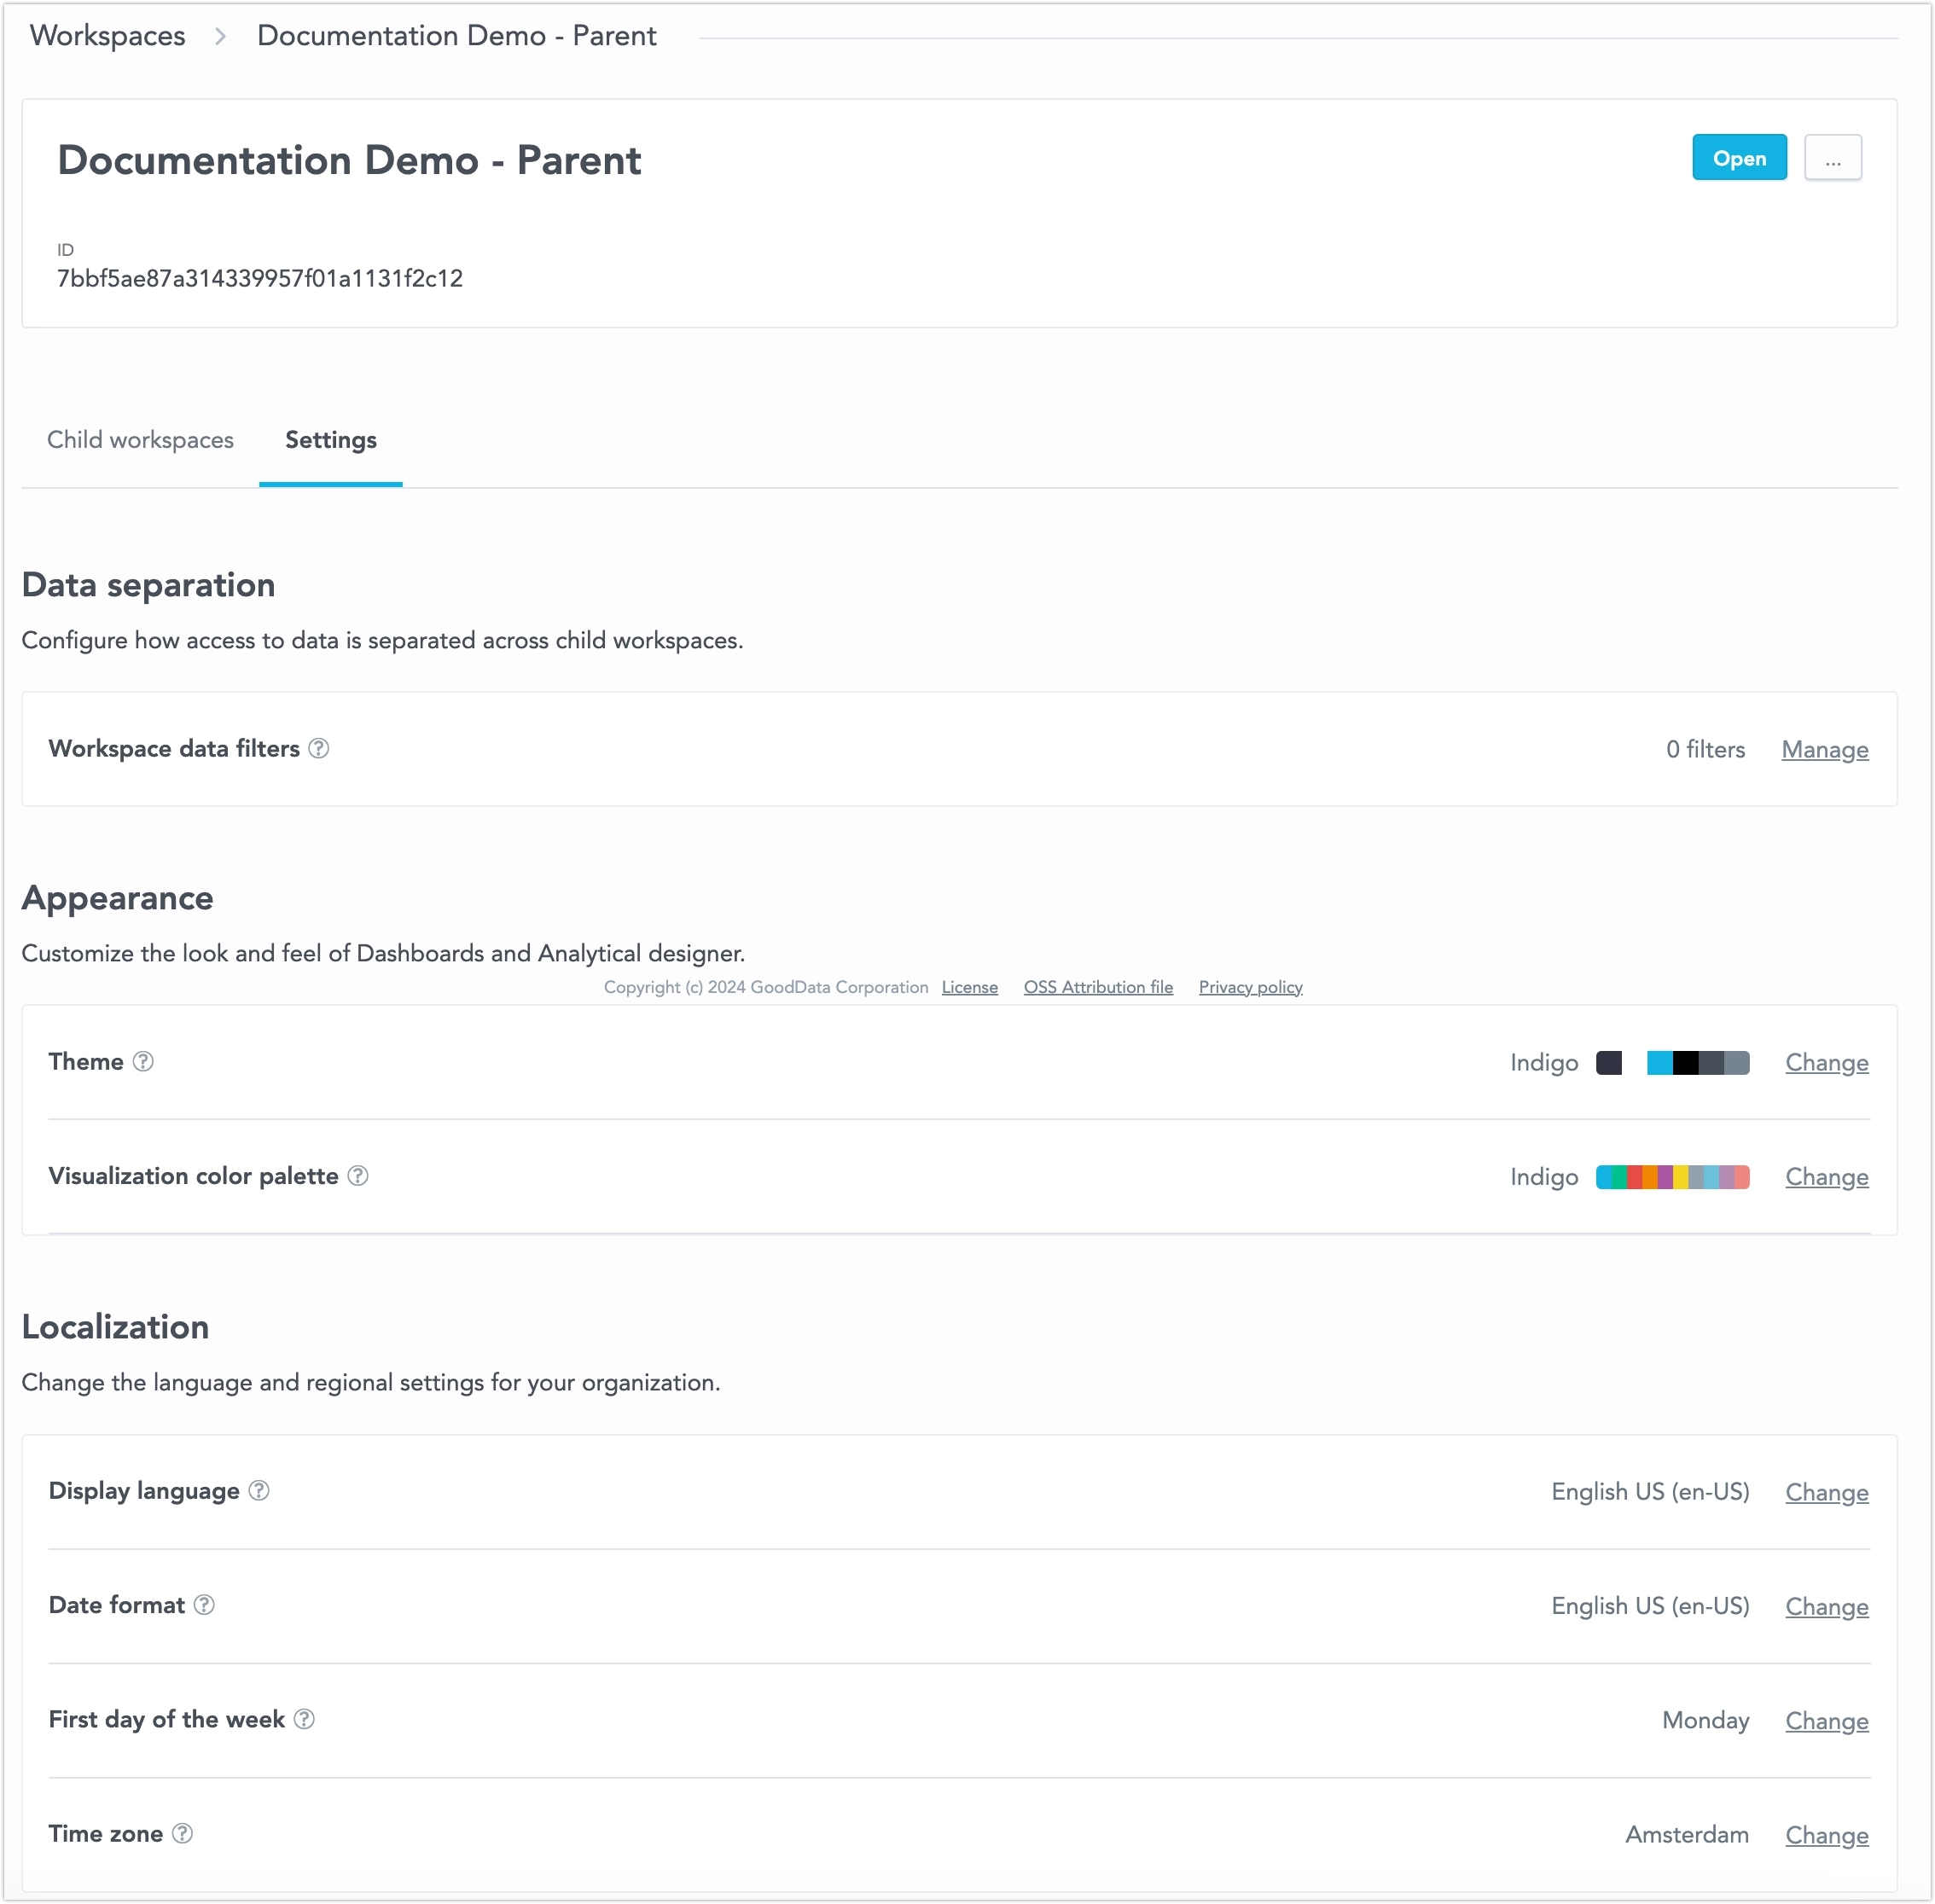
Data Separation
In this section, you can set up Workspace Data Filters (WDF). WDFs allow you to control what data child workspaces can access.
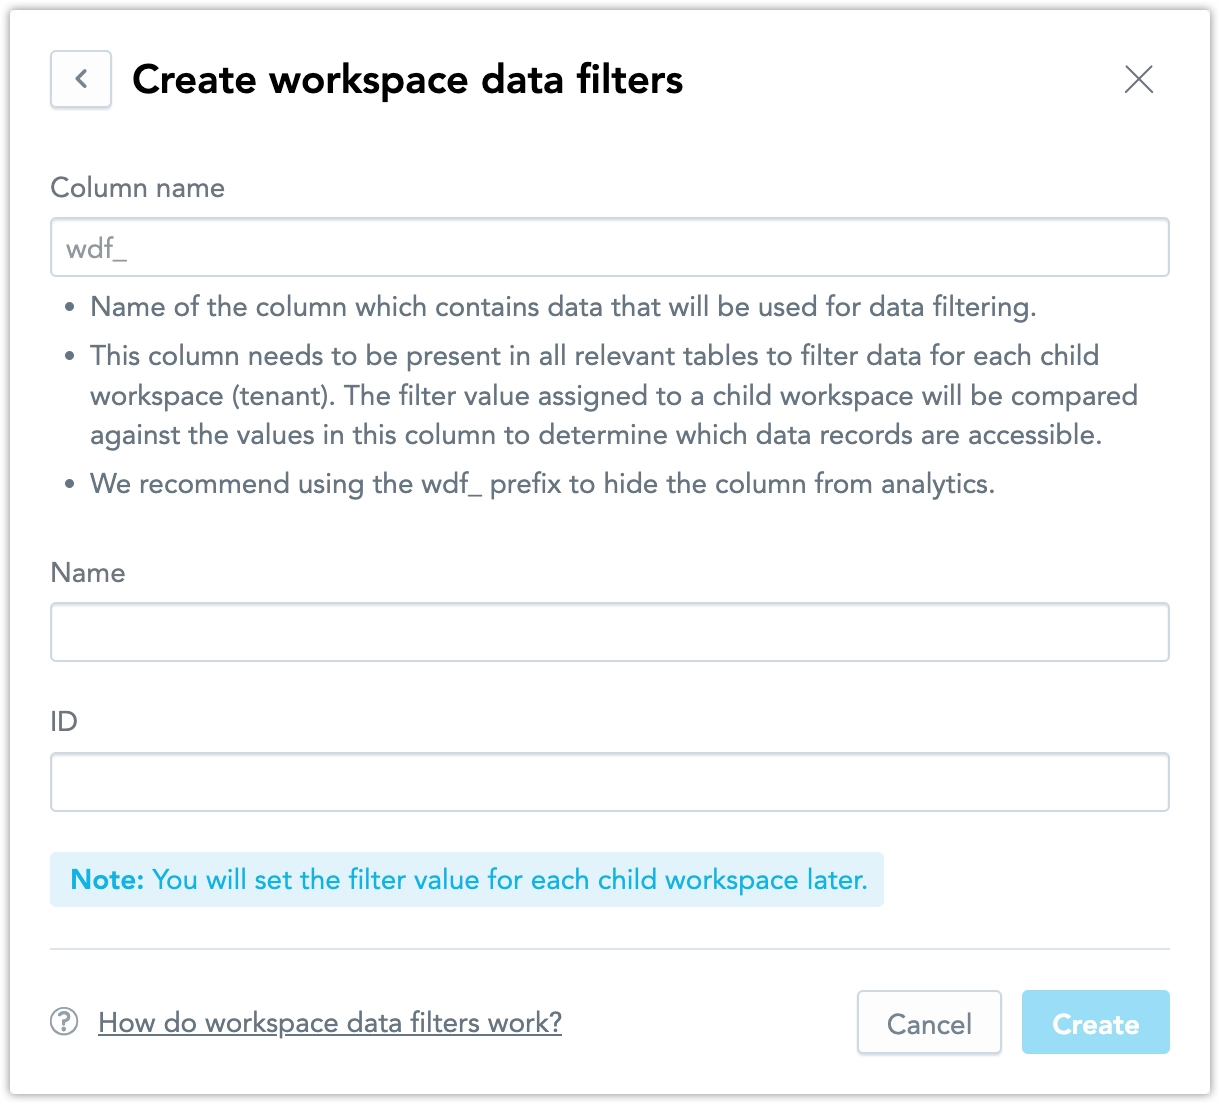
See the Set Up Data Filters in Workspaces section for more details.
Appearance
In this section, you can:
- Choose an existing color theme and apply it to the current workspace. Learn more in the Create Custom Themes section.
- Apply an existing color palette to all visualizations in the current workspace. Check the Create Custom Color Palettes section for details.
Localization
In this section, you can:
- Change the workspace display language in the Display Language dialog.
- The default date format is en-US, but you can change it for the current workspace in the Date Format dialog.
- Select the Number separators that are most suitable for your region.
- By default, the first day of the week is set to Sunday in all date pickers. You can change this to Monday using the First Day of the Week dialog.
- The data is shown based on the server’s time zone by default, but you can adjust this for the current workspace using the Time Zone dialog.
Workspace API
For advanced actions like cloning, creating backups, or managing content, use the API or Python SDK.
There are two main interfaces for managing workspaces:
- The Metadata Entity Interface helps manage individual objects or retrieve them in batches.
- The Workspace Declarative Interface manages everything as a single model in one document.