Add Rich Text to Dashboards
The rich text widget lets you embed Markdown content into your dashboards. This includes text, lists, codeblocks, hyperlinks and even images.
With the rich text widget, you have a versatile tool at your disposal to enhance user interaction with your dashboard. It’s not just about displaying information; you can guide users through the data narrative, provide detailed annotations, and make important comments stand out. The ability to add decorative elements and images also plays a crucial role in making your dashboard visually appealing and engaging. This combination of functionality and aesthetics contributes to a more comprehensive and user-friendly dashboard experience.
Add Rich Text
Incorporating a rich text widget into your dashboard mirrors the process of adding a new visualization, allowing you to select its specific placement and dimensions.
Just as you would with visualizations, you can easily drag and drop rich text widgets into your dashboard.
Steps:
Edit the dashboard.
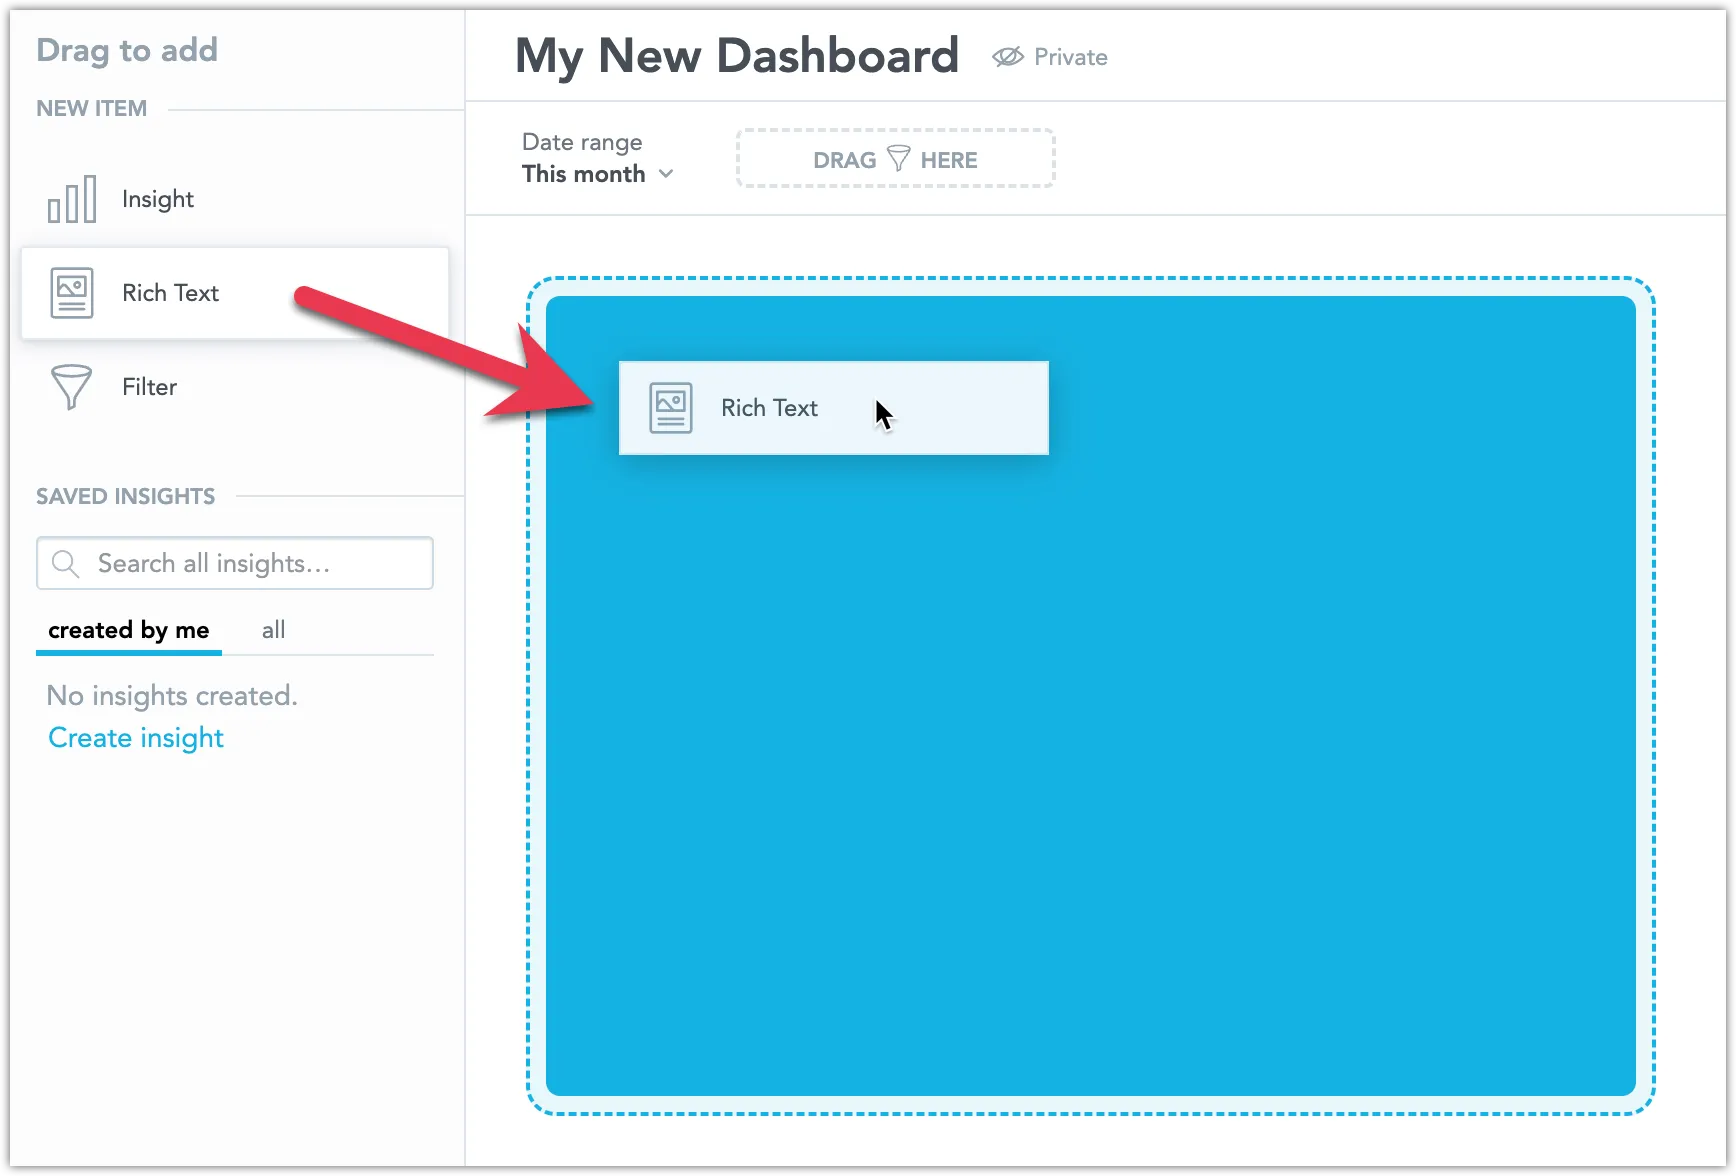
Drag and drop the Rich Text widget from the New item section on the left-hand panel into the dashboard.
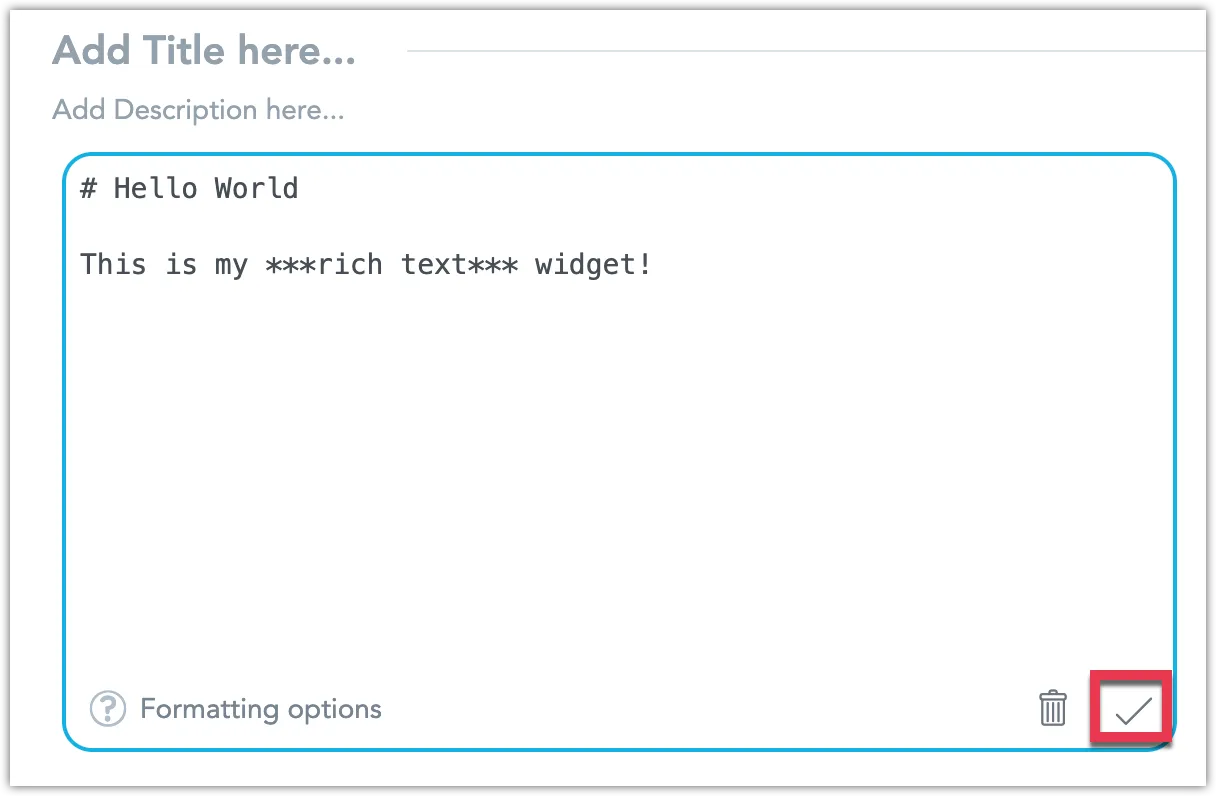
Add content to your rich text widget using Markdown syntax and save it by clicking the checkmark button:
For an overview of supported Markdown features, refer to the Formatting Options section of this article.
Save the dashboard.
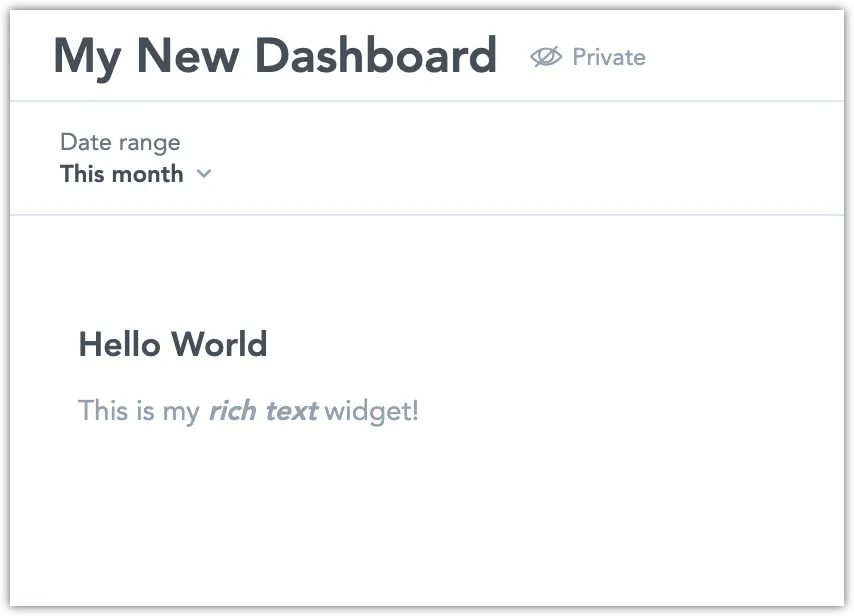
Your rich text widget is live!
To add a rich text widget to your dashboard using the API:
- Get the layout definition of an existing dashboard.
- Edit the layout to include your rich text widget.
- Put the updated dashboard layout back to the server.
Steps:
Get the dashboard definition using the following API endpoint:
curl $HOST_URL/api/v1/entities/workspaces/<workspace_id>/analyticalDashboards/<dashboard_id> \
-X GET
-H "Authorization: Bearer $API_TOKEN" \
-H 'Content-Type: application/vnd.gooddata.api+json' \
Edit the dashboard definition by adding the rich text widget to it:
{
    "data": {
        "id": "<dashboard_id>",
        "type": "analyticalDashboard",
        "attributes": {
            "title": "<dashboard_title>",
            "description": "",
            "content": {
                "layout": {
                    "type": "IDashboardLayout",
                    "sections": [
                        {
                            "type": "IDashboardLayoutSection",
                            "header": {},
                            "items": [
                                {
                                    "type": "IDashboardLayoutItem",
                                    "size": {
                                        "xl": {
                                            "gridHeight": 22,
                                            "gridWidth": 6
                                        }
                                    },
                                    "widget": {
                                        "type": "richText",
                                        "description": "",
                                        "content": "# Hello World\n\nThis is my ***rich text*** widget!",
                                        "drills": [],
                                        "ignoreDashboardFilters": [],
                                        "title": ""
                                    }
                                }
                            ]
                        }
                    ]
                },
                "version": "2"
            }
        }
    }
}
Put the new dashboard layout definition using the following API call:
curl $HOST_URL/api/v1/entities/workspaces/<workspace_id>/analyticalDashboards/<dashboard_id> \
-X PUT
-H "Authorization: Bearer $API_TOKEN" \
-H 'Content-Type: application/vnd.gooddata.api+json' \
-d '<your_updated_dashboard_definition_json>'
Your rich text widget is live!
Formatting Options
This section outlines the Markdown syntax options available in the rich text widget. Note that the widget supports a limited subset of markdown features. Tables and HTML embedding, for instance, are not supported.
Note that the text color is dervied from the complementary color 6 from the theme’s color palette.
Headings
To create a heading, add one or more number signs (#) in front of a word or phrase. The number of number signs you use should correspond to the heading level.
# Heading Level 1

## Heading Level 2

### Heading Level 3

Normal paragraph.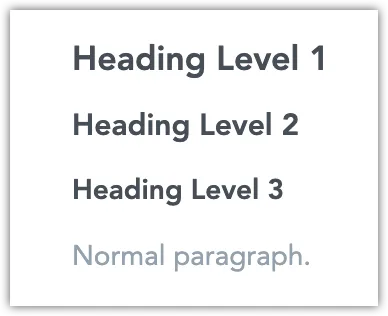
Line Breaks
To create a line break or new line, end a line with two or more spaces, and then type return. To start a new paragraph, leave an empty line.
Sentence followed by a line break.
Sentence followed by a line break and two spaces.
Sentence followed by a line break and an empty line.

This is a start of a new paragraph.
Emphasis
To bold text, add two asterisks (**) before and after a word, phrase or set of characters:
**These words** are bold.To italicize text, use just one asterisk (*):
*These words* are italicized. 🤌To bold and italicize, use three asterisks (***):
***These words*** are bold and italicized. 🤌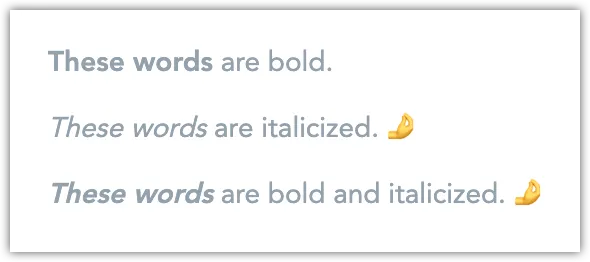
Lists
To form an ordered list, start each item with a number followed by a period. The sequence of numbers does need not be consecutive, but the list must begin with the number one.
1. First Item
1. Second Item
1. Third Item
To form an unordered list, precede line items with asterisks (*), hyphens (-), or plus signs (+).
* Item
* Item
* Item
To nest something into the list, indent it using four spaces or a tab.
1. First Item
1. Second Item

    I need to add another paragraph below the second list item.

1. Third Item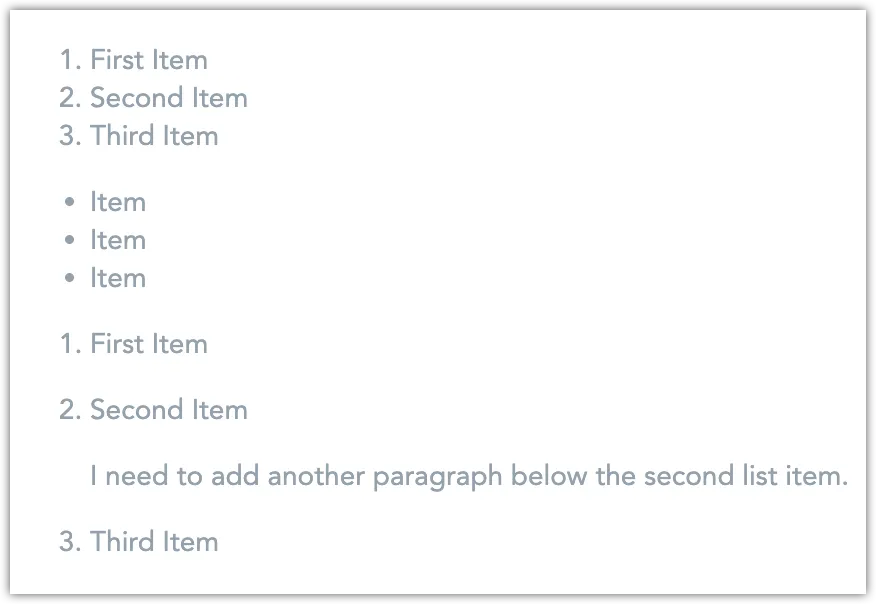
Links
To create a hyperlink, wrap the text for the link in square brackets ([link text]) and immediately append the URL in parentheses ((linked.url)).
Optionally, you can include tooltip text following the URL ("tooltip text!").
Please refer to [GoodData Documentation](https://www.gooddata.com/docs/cloud/).

You can also add tooltips [Google](https://www.google.com/ "A search engine").
Images
To insert an image, start with an exclamation point (!), followed by an alt description in square brackets ([image alt text]), and then the path or URL of the image in parentheses ((image.url)).
Optionally, you can include tooltip text following the URL ("tooltip text!").
You can also turn the image into a link:
[](https://en.wikipedia.org/wiki/Steamboat_Willie)Note that image resizing is not possible. Oversized images are scaled down according to the width of the widget.
Blockquotes
To create a blockquote, prefix a paragraph with a >.
I am going to create a blockquote:

> First line of a blockquote.
> This is still on the first line. But if we follow this line by two spaces...
> Now we're on the second line.
>
> The line above this one displays empty.
> Certain other **formatting** is also *supported* inside a blockquote.
>> This is a nested blockquote.

And we are back inside a normal paragraph.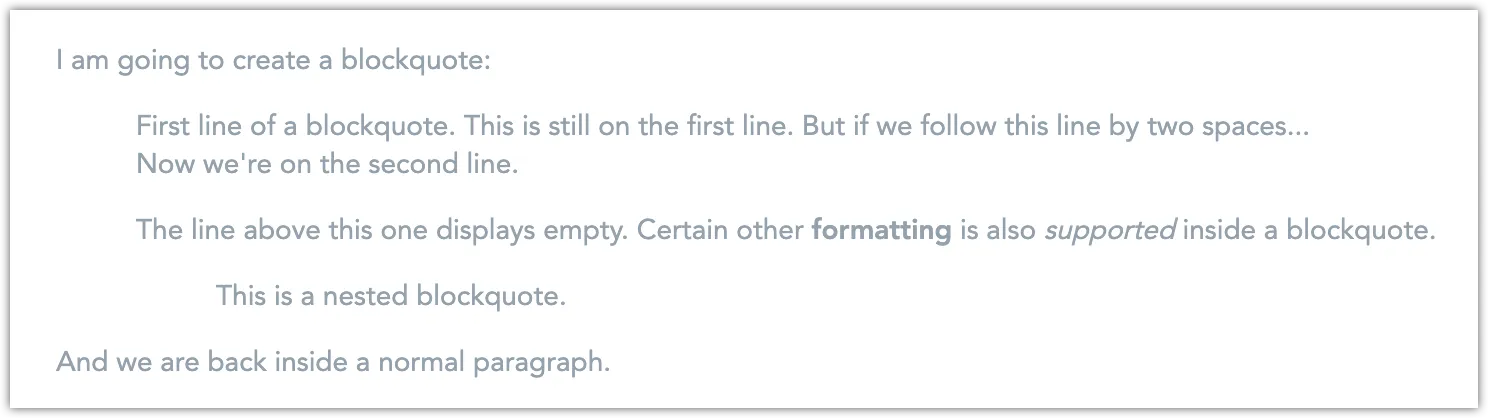
Code
To indicate a word or phrase as code, wrap it in backticks (`).
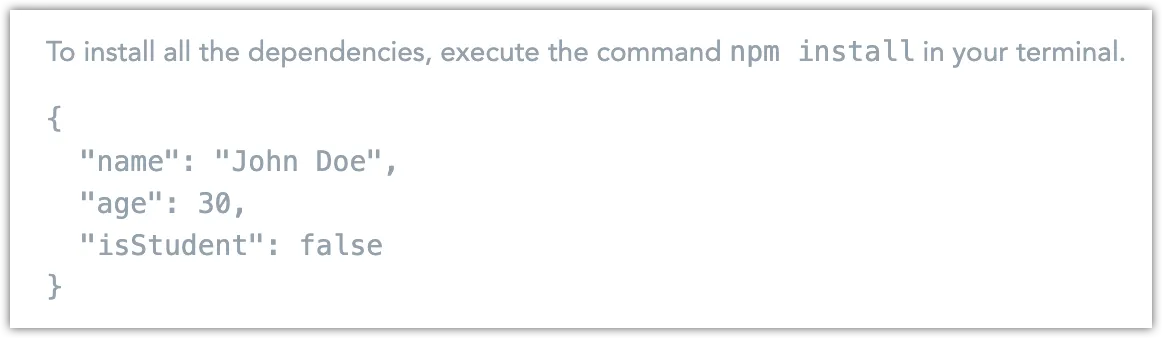
To install all the dependencies, execute the command `npm install` in your terminal.To create code blocks, wrap your code in fencing using three backticks (```) or three tildes (~~~) at the beginning and the end of the codeblock.
```
{
  "name": "John Doe",
  "age": 30,
  "isStudent": false
}
```
Horizontal Dividers
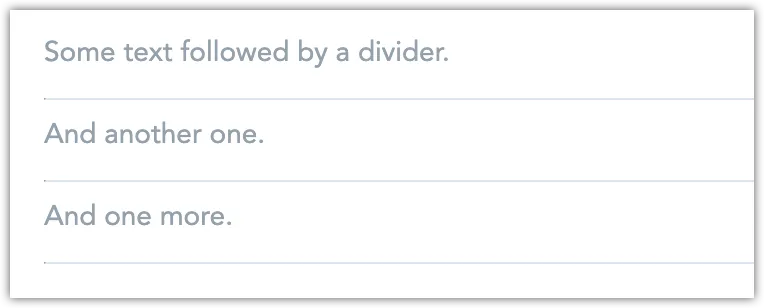
To form a horizontal line, place three or more asterisks (***), hyphens (---), or underscores (___) alone on a line.
Some text followed by a divider.

***

And another one.

---

And one more.

_________________
Literal Characters
To show a character, that would normally be used for formatting, as itself, place a backslash (\) before the character.
\* This is no longer an unordered list.

And \*\*this\*\* is not bold.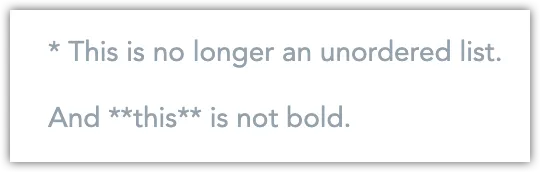
Reference Metrics and Attributes
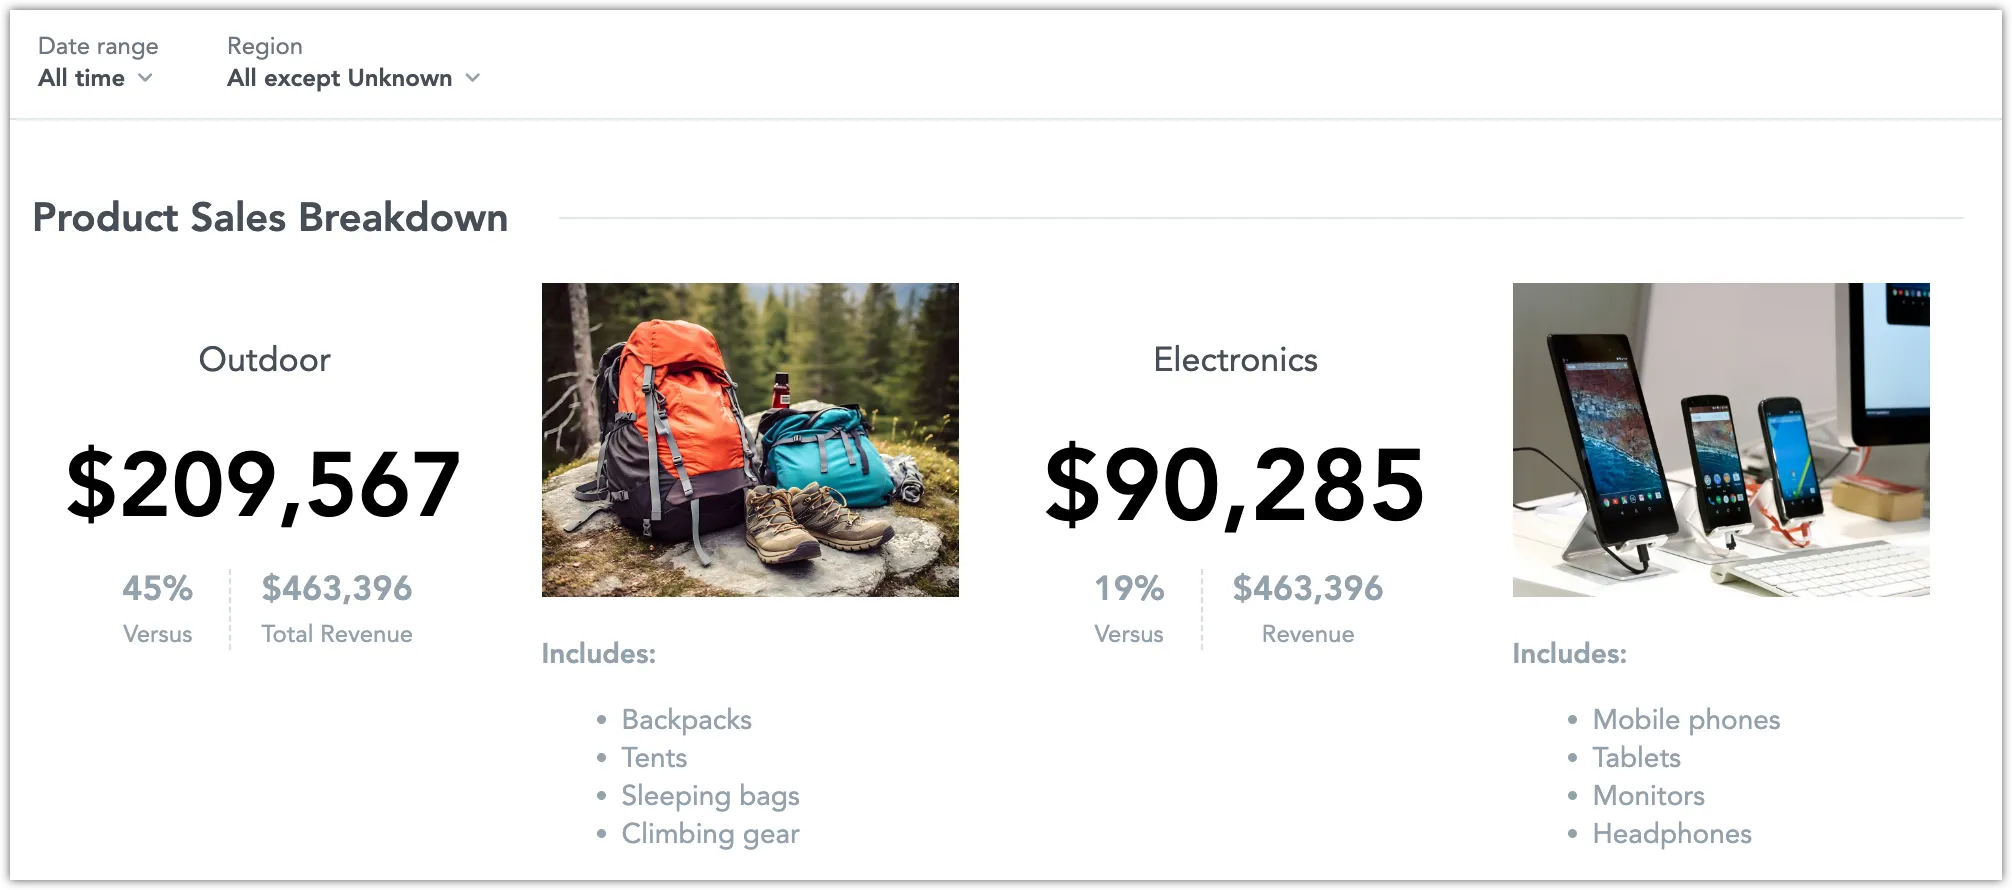
You can also embed dynamic variables into your rich text widget that display metrics and attributes. To do so, use the {metric/metric_id} for metrics and {label/label_id} for attribute labels.
This is true for other places in GoodData where you can use rich text, such as dashboard section descriptions, widget tooltips, and metric or attribute descriptions.
Value of a metric will change depending on its context. Visualization tooltip in Analytical Designer may show different number compared to when the visualization is used in a dashboard as a widget, because the dashboard filter will be applied to it.
Example of a metric:
Total order amount is: **{metric/order_amount}**
Example of an attribute:
You are currently viewing the {label/product_category} category.
Beware of use cases where the attribute can return more than one value, in such cases the string (Multiple items) is displayed instead:

For this reason we recommend using attribute references only in combination with single-value filters.
Limitations
For performance optimization, we only execute a single query per widget. This means that if your rich text widget contains an erroneously referenced or broken variable, all variables will display the (Data could not be retrieved).
This attribute is referenced correctly: {label/product_category}

But this one is not: {label/producd_category}
Ensure that each variable exists in your data model and is referenced correctly before referencing it in a widget.