Create a Snowflake Data Source
Follow these steps to connect to a Snowflake and create a Snowflake data source:
Refer to Additional Information for additional performance tips and information about Snowflake feature support.
Configure User Access Rights
We recommend that you create a dedicated user and user role for integration with the GoodData platform.
Steps:
Create a user role and grant the following access rights to it.:
GRANT USAGE ON WAREHOUSE {warehouse_name} TO ROLE {role_name};
GRANT USAGE ON DATABASE {database_name} TO ROLE {role_name};
GRANT USAGE ON SCHEMA {database_name}.{schema_name} TO ROLE {role_name};
GRANT SELECT ON ALL TABLES IN SCHEMA {database_name}.{schema_name} TO ROLE {role_name};
GRANT SELECT ON FUTURE TABLES IN SCHEMA {database_name}.{schema_name} TO ROLE {role_name};
GRANT SELECT ON ALL VIEWS IN SCHEMA {database_name}.{schema_name} TO ROLE {role_name};
GRANT SELECT ON FUTURE VIEWS IN SCHEMA {database_name}.{schema_name} TO ROLE {role_name};
Create a user and grant it with the user role:
GRANT ROLE {role_name} TO USER {user_name};Make the user role default for the user:
ALTER USER {user_name} SET DEFAULT_ROLE={role_name};
Create a Snowflake Data Source
Once you have configured your Snowflake user’s access rights, you can proceed to create a Snowflake data source that you can then connect to.
Steps:
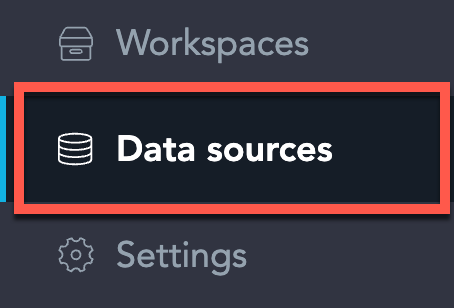
On the home page switch to Data sources.
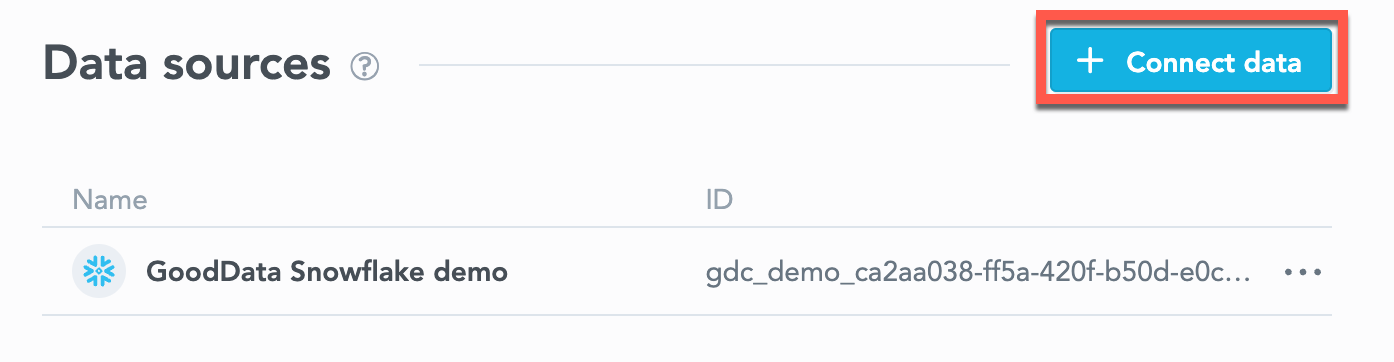
Click Connect data.
Select Snowflake.

Name your data source, fill in your Snowflake credentials and click Connect:

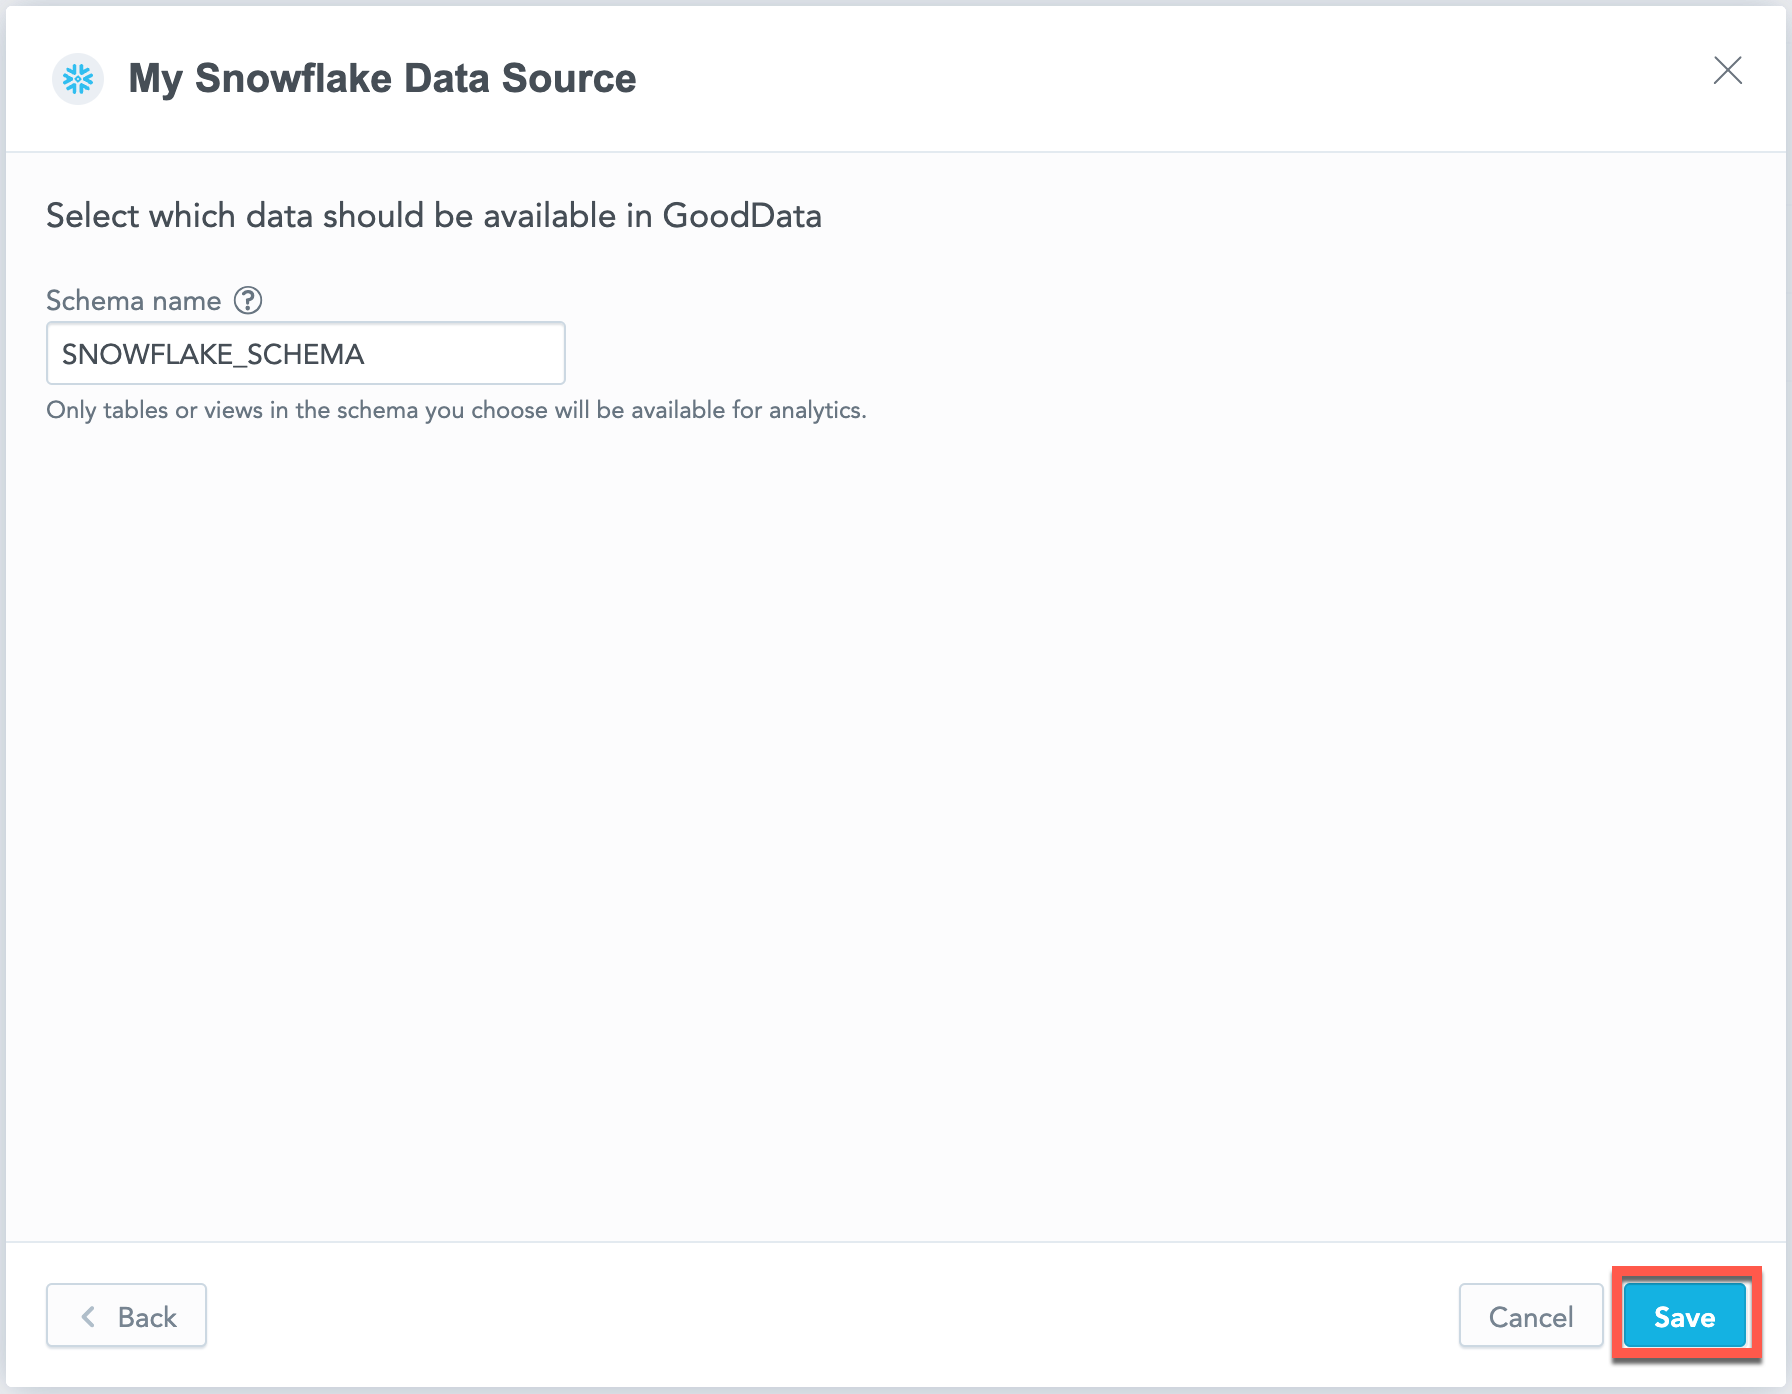
Input your schema name and click Save:
Your data source is created!

Steps:
Create a Snowflake data source with the following API call:
curl $HOST_URL/api/v1/entities/dataSources \
  -H "Content-Type: application/vnd.gooddata.api+json" \
  -H "Accept: application/vnd.gooddata.api+json" \
  -H "Authorization: Bearer $API_TOKEN" \
  -X POST \
  -d '{
    "data": {
    "type": "dataSource",
    "id": "<unique_id_for_the_data_source>",
    "attributes": {
      "name": "<data_source_display_name>",
      "url": "jdbc:snowflake://<SNOWFLAKE_ACCOUNT>.snowflakecomputing.com:5432?warehouse=<SNOWFLAKE_WAREHOUSE>&db=<SNOWFLAKE_DBNAME>",
      "schema": "<SNOWFLAKE_SCHEMA>",
      "type": "SNOWFLAKE",
      "username": "<SNOWFLAKE_USER>",
      "password": "<SNOWFLAKE_PASSWORD>"
    }
    }
  }' | jq .
To confirm that the data source has been created, ensure the server returns the following response:
{
  "data": {
    "type": "dataSource",
    "id": "<unique_id_for_the_data_source>",
    "attributes": {
      "name": "<data_source_display_name>",
      "url": "jdbc:snowflake://<SNOWFLAKE_ACCOUNT>.snowflakecomputing.com:5432?warehouse=<SNOWFLAKE_WAREHOUSE>&db=<SNOWFLAKE_DBNAME>",
      "schema": "<SNOWFLAKE_SCHEMA>",
      "type": "SNOWFLAKE",
      "username": "<SNOWFLAKE_USER>"
    }
  },
  "links": {
    "self": "$HOST_URL/api/v1/entities/dataSources/<unique_id_for_the_data_source>"
  }
}
Create a Snowflake data source with the following API call:
from gooddata_sdk import GoodDataSdk, CatalogWorkspace, BasicCredentials, CatalogDataSourceSnowflake, SnowflakeAttributes

host = "<GOODDATA_URI>"
token = "<API_TOKEN>"
sdk = GoodDataSdk.create(host, token)

sdk.catalog_data_source.create_or_update_data_source(
    CatalogDataSourceSnowflake(
        id=data_source_id,
        name=data_source_name,
        db_specific_attributes=SnowflakeAttributes(
            account=os.environ["SNOWFLAKE_ACCOUNT"],
            warehouse=os.environ["SNOWFLAKE_WAREHOUSE"],
            db_name=os.environ["SNOWFLAKE_DBNAME"]
        ),
        schema=os.environ["SNOWFLAKE_SCHEMA"],
        credentials=BasicCredentials(
            username=os.environ["SNOWFLAKE_USER"],
            password=os.environ["SNOWFLAKE_PASSWORD"],
        ),
    )
)
Additional Information
Ensure you understand the following limitations and recommended practice.
Data Source Details
The JDBC URL must be in the following format:
jdbc:snowflake://<db_account>.snowflakecomputing.com:<db_port>?warehouse=<db_warehouse>&db=<db_name>Basic authentication is supported. Specify
userandpassword.If you use native authentication inside your cloud platform (for example, Google Cloud Platform, Amazon Web Services, or Microsoft Azure), you do not have to provide the username and password.
GoodData uses up-to-date drivers.
Performance Tips
If your database holds a large amount of data, consider the following practices:
- GoodData’s connection pool allows for up to 24 connections. Snowflake’s default setting permits only 8 connections. We recommend increasing your Snowflake’s connection pool size to 24.
- Denormalize the relational data model of your database. This helps avoid large JOIN operations. Because Snowflake is a columnar database, queries read only the required columns and each column is compressed separately.
- Spin up databases/instances based on user needs.
- Users with similar needs populate data into caches that are likely reused.
- Isolate data transformation operations running in your database from the analytics generated by GoodData.
- Set up proper auto-scaling based on users needs.
- Utilize materialized views
- Changes to underlying tables are propagated to related materialized views, they are always consistent
- Materialize results of JOINs / aggregations which are executed very often as a result of execution of dashboards / visualizations from GoodData
- Map materialized views and their columns to datasets and LDM and utilize them in metrics / visualizations / dashboards
Query Timeout
Query timeout is configurable per application instance. It is a parameter of the sql-executor service, default value is 160 seconds.
Query timeout is closely related to the ACK timeout. Proper configuration of the system requires that ACK timeout is longer than query timeout. Default ACK timeout value is 170 seconds.
Note
When a query fails on query timeout, the REST API call returns error code 500. Please note that this is subject to change in a future release.
Permitted parameters
- db
- loginTimeout
- networkTimeout
- ocspFailOpen
- passcode
- passcodeInPassword
- useProxy
- proxyHost
- proxyPort
- proxyUser
- proxyPassword
- proxyProtocol
- queryTimeout
- role
- stringsQuotedForColumnDef
- token
- warehouse